Rhubarb Shrub

by autumn on May 16, 2013

rhubarb-shrub-2

When I was developing a rhubarb shrub recipe for my recent Serious Eats piece, it took three tries to get a recipe I was happy with. My first two attempts were cold processed shrubs, which I acutally prefer because they’re so darn easy. If you’ve never tried it, a cold processed shrub is just fruit mixed with sugar and allowed to macerate (ie: you forget about it) in the fridge for a few days. The resulting sugary juice is then mixed with vinegar for a tart, fruity syrup.

[click to continue…]

{ 11 comments }

Rhubarb Vanilla Bean Donuts

by autumn on May 9, 2013

rhubarb-vanilla-bean-donuts-2

In the city, a bag full of rhubarb is the secret language of people with gardens in their pasts. Our garden gates were a row of peas on one side, rhubarb on the other. I was the pea cheerleader, a watchdog of their progress up my mom’s hand-made trellis, a carefully strung contraption of dowels and kitchen twine.

rhubarb-vanilla-bean-donuts

Thanks to my reputation for gauging the peas’ growth by eating them, I was warned away from the rhubarb whose big, billowy leaves I had been told were poisonous. Frankly, I wasn’t much interested in anything that I couldn’t pluck or pull right from the earth and stick directly in my mouth—even carrots, after a quick shake—that having the rhubarb off-limits wasn’t a much of a loss.

rhubarb-vanilla-bean-donuts-5

rhubarb-vanilla-bean-donuts-3

Now, I treasure it. Even its most skinny spring stalks can survive a day being carted around Brooklyn in this writer’s purse in an attempt to have it all: rhubarb and time with a good friend in one perfect Saturday with imperfect public transit. If you tell someone what to do with rhubarb, they will think that you know something and feel as if you have given them a gift. And if, say, you put rhubarb in a donut that’s something to be proud of.

rhubarb-vanilla-bean-donuts-4


Rhubarb Vanilla Bean Donuts

adapted from Babycakes Covers the Classics (via Bon Appetit)

For the cooked rhubarb:

8 ounces (scant 2 cups) thin rhubarb stalks, sliced into 1/4 inch rounds
6 T water

  1. Combine the rhubarb and water in a small saucepan over very low heat.
  2. Stir frequently, cooking just until the rhubarb is completely broken down.
  3. Remove from heat and allow to cool slightly while you assemble the donut ingredients. You’ll use about half of this for the donuts and about half for the glaze.

For the Donuts:

1/3 cup liquid refined coconut oil, plus more for oiling the pan
1 cup cane sugar
3/4 cup brown rice flour
1/3 cup garbanzo and fava bean flour
1/2 cup potato starch
1/4 cup arrowroot
1 1/2 tsp. baking powder
1/2 tsp. xanthan gum
1/2 tsp. salt
1/8 tsp. baking soda
6 Tbsp. cooked rhubarb (see above)
2 Tbsp. vanilla extract
1 vanilla bean, split and scraped
1/2 cup hot tap water

  1. Generously oil two donut pans (6 donuts each) with coconut oil and set aside. Preheat the oven to 325.
  2. Combine the sugar, brown rice flour, garbanzo and fava bean flour, potato starch, arrowroot, baking powder, xanthan gum, salt, and baking soda in a large bowl. Whisk until fully incorporated.
  3. Make a well in the center and add the cooked rhubarb, vanilla extract, vanilla bean seeds, coconut oil, and hot tap water. Stir until fully combined.
  4. Using a melon baller or a tablespoon, put 3-4 tablespoons of batter in each donut mold and use a toothpick to spread it evenly.
  5. Bake for 16 minutes, rotating once after 8 minutes.
  6.  Allow donuts to cool in the pan for 5 minutes, then remove them to a wire rack to cool completely.

For the rhubarb glaze:

1/8 cup rhubarb juice, from the remaining cooked rhubarb
1 1/3 cup confectioner’s sugar

  1. Put the remaining cooked rhubarb into a fine mesh strainer positioned over a small bowl.
  2. Stir the cooked rhubarb to help separate the pulp and strain the juice. Reserve the pulp for another use or discard.
  3. Measure 1/8 cup of the strained juice (You should have a bit more than that. If you’re shy, you can sneak in a little water to make up the difference.) and combine it in a small bowl with 1 1/3 cup confectioner’s sugar. Stir until smooth.
To Assemble:

[gickr.com]_e44b8976-fc5a-3804-1175-5038d7b2757c


Disclosure: There’s an Amazon.com affiliate link up there, which means I will receive an itty bitty commission on all purchases made through Amazon links in this post.

{ 26 comments }

rhubarb-stalks

This weekend, I bought my first greenmarket rhubarb of the season. I bagged just over a pound of pip-squeak little stalks that were piled in a foil roasting pan and shoved next to some kale. The lady who came after me said something about not wanting to be greedy and after the lady who came after her, it was gone. This, my friends, is the most wonderful time of the year. Here are some recipes, so you’re ready.

What’s on your rhubarb to-do list this year?

Rhubarb Almond Breakfast Cakes from The Year in Food

Rhubarb Fool from The First Mess

Pink Peppercorn Rhubarb and Berry Cake from Canelle et Vanille

Rhubarbaritas from Local Kitchen

Rhubarb Lime Granita from Apt 2B Baking Co

And some of my favorites…

Rhubarb Shrub + 3 drinks from Serious Eats

Strawberry Rhubarb Crisp

Milk & Honey Pudding with Stewed Rhubarb

Rhubarb White Wine Sorbet (forgive the pics, this one is an oldie, but goodie)

Rhubarb Jelly

{ 7 comments }

Put ‘Em Up! Fruit Giveaway Winner

by autumn on April 18, 2013

naked-lemons

Just a quick note to thank everyone for helping me cheer on the launch of Put ‘Em Up! Fruit. It was so nice to hear about how many of you were excited for preserving season! Me too. Congrats to Candy for winning a copy of the book!

Screen shot 2013-04-16 at 8.09.28 PM

For those of you who didn’t win, there are still plenty of chances! Check out the below stops on the book blog tour for more recipes, giveaways, and peeks into the book!


{ 1 comment }

PutEmUpFruit


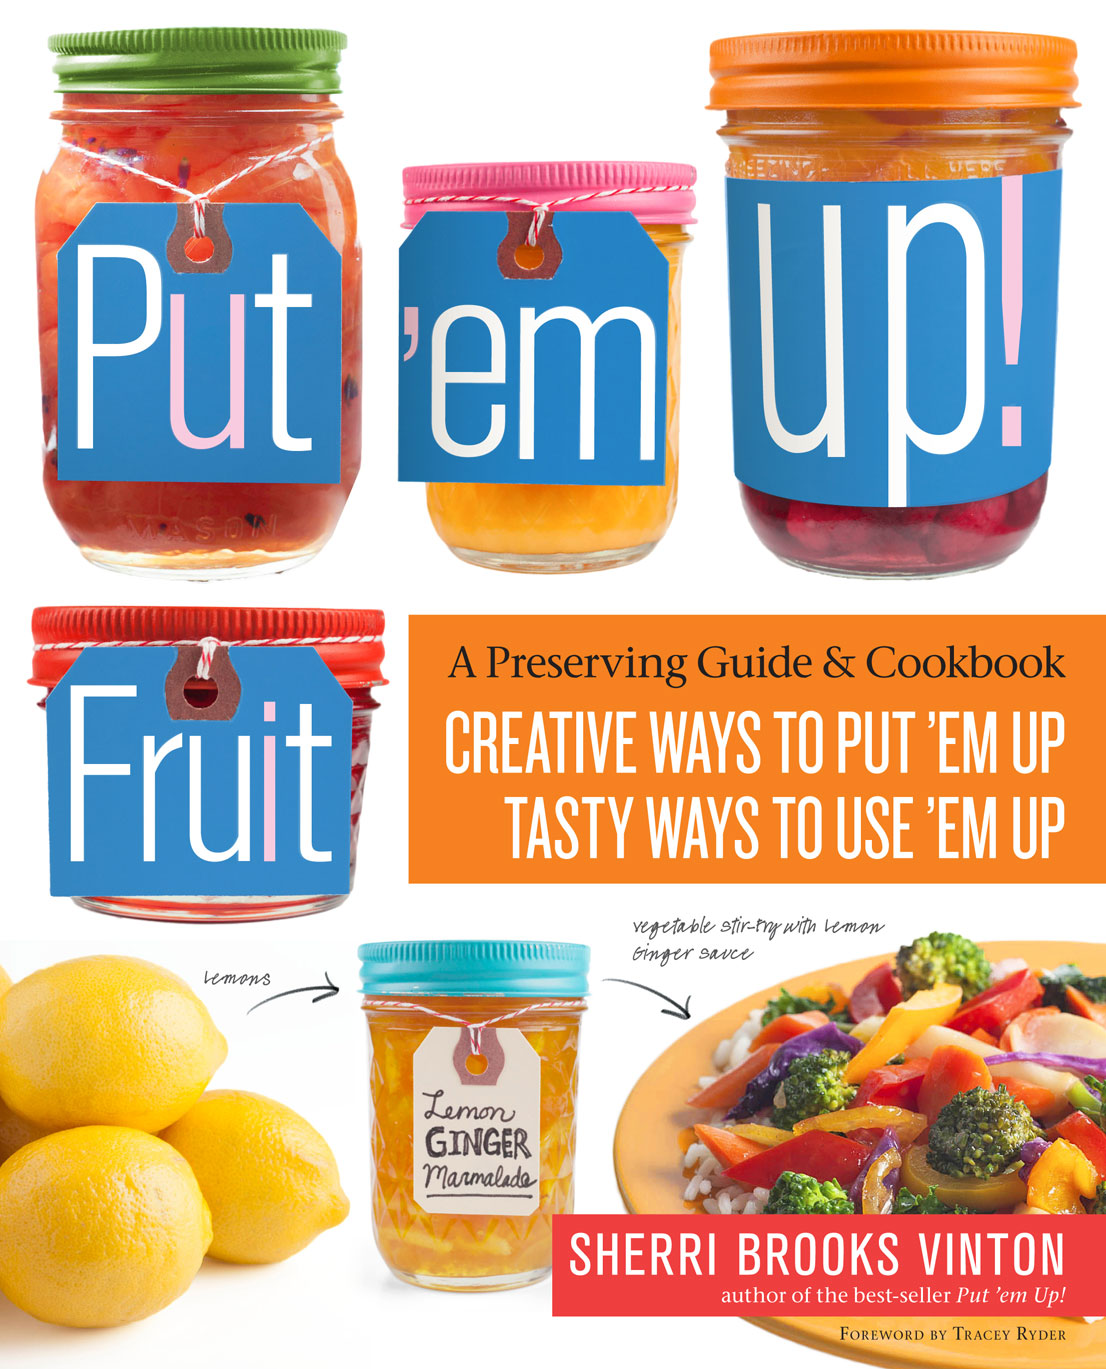
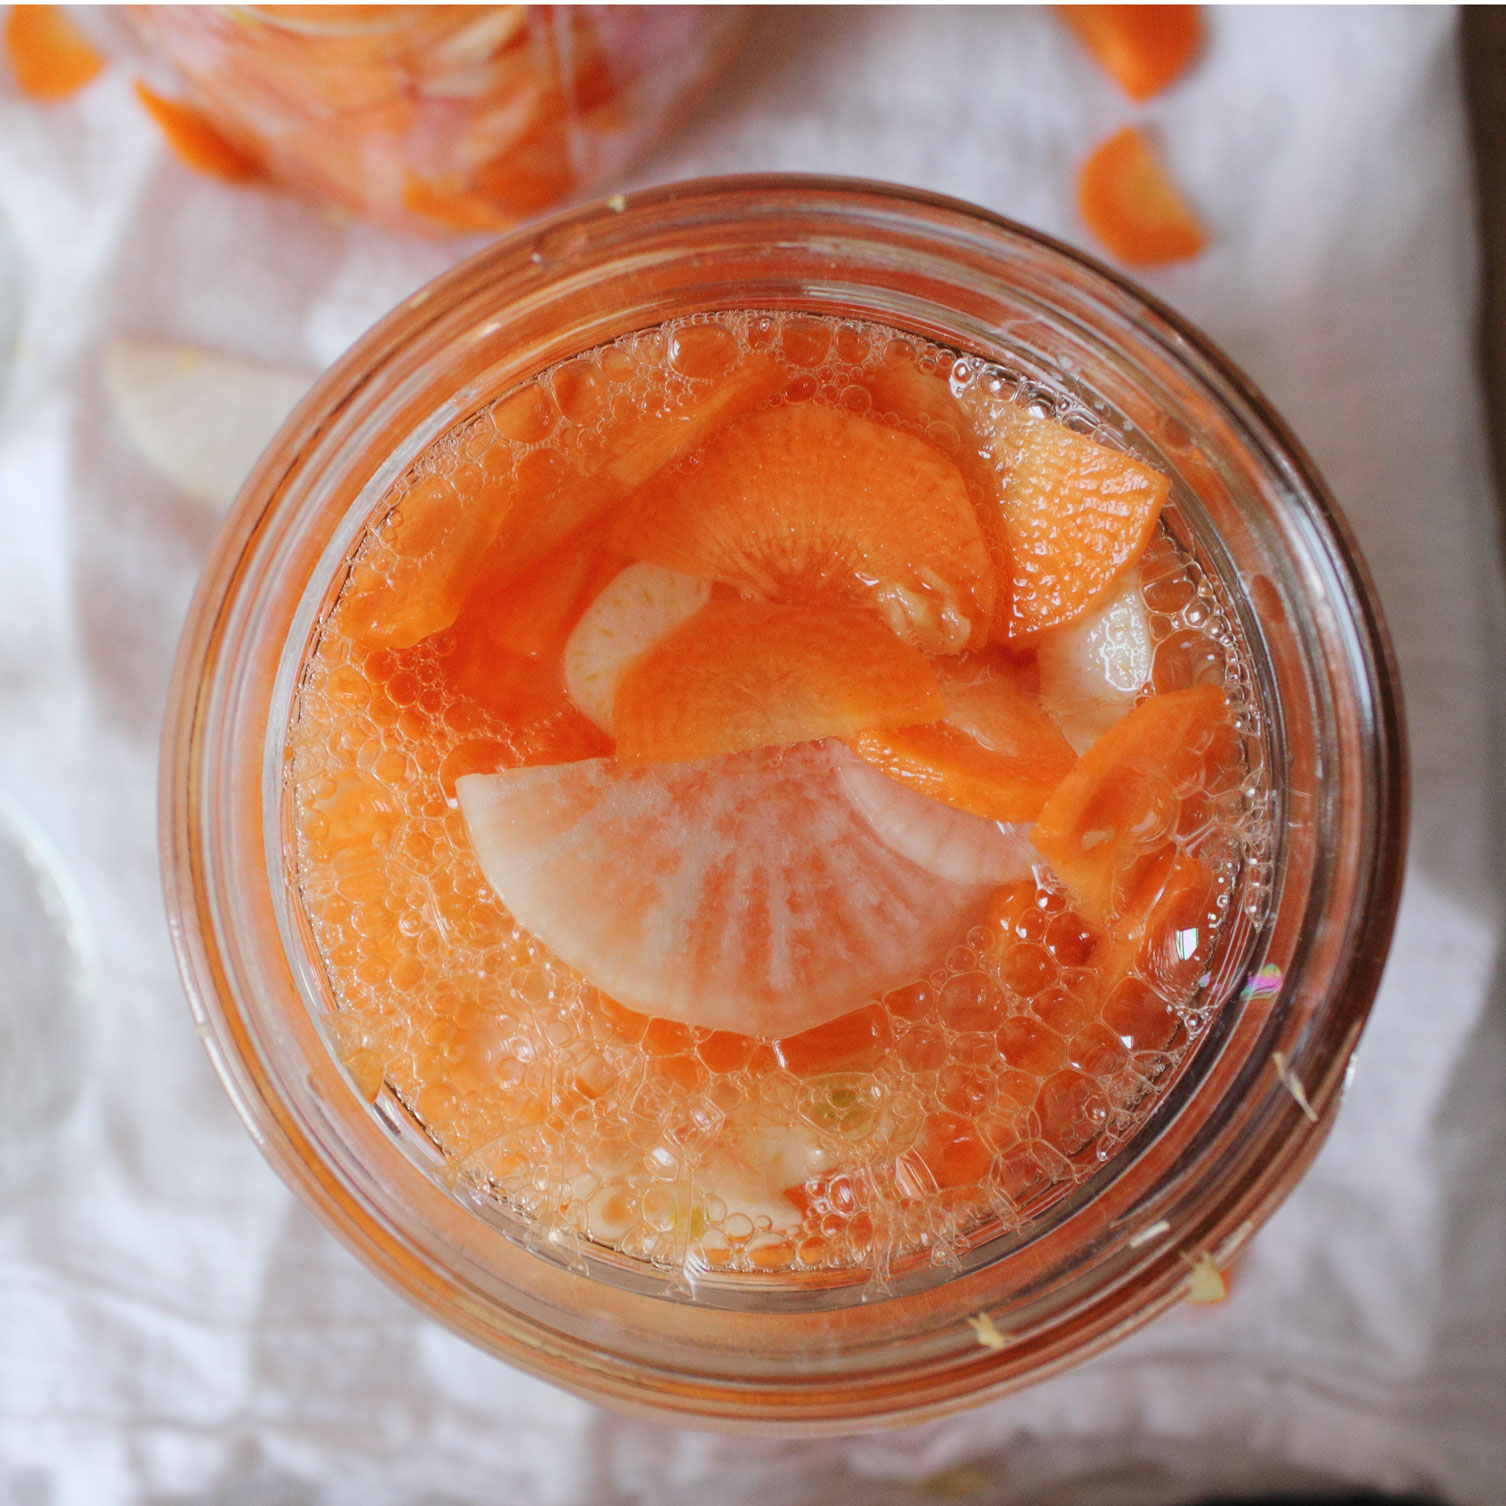
This is going to sound completely made up, but I’m going to tell you anyway. When the folks at Storey Publishing asked me to be a part of the blog book tour celebrating the release of Put ‘Em Up! Fruit, I was making a batch of pickles from the author Sherri Brooks Vinton’s other book, Put ‘Em Up!. I just use it that much. Put ‘Em Up! is a super-reliable preserving volume with a very wide scope that quickly became a stand-by in my kitchen. I can see Put ‘Em Up! Fruit, which focuses in on 80 ways to practically preserve fruit and 80 ways to use it up once it’s in jars, earning a similarly prominent place on my bookshelf.

jars
Put ‘Em Up! Fruit is perfectly geared toward how I am preserving this days. As I wrote recently, I find myself gravitating toward more basic recipes for local and seasonal pantry staples. There’s a huge range of preserving techniques covered in the book—drying, freezing, preserving in booze, and canning. Plus some there are some really unique tutorials (like an super-intriguing limoncello recipe and a step-by-step guide to making your own apple cider vinegar).
lemon-onion-oregano-jam
lemon-onion-oregano-jam-3
What I think sets this book apart is that for each preserving recipe there’s an accompanying recipe that makes use of the preserved fruit. So smart! And if you’re a seasoned preserver and already have some jars around that you’re working on using up, I found the “use ’em up” recipes helpful for that too. This book will be a great resource for the upcoming preserving season, but there are plenty of in-between season recipes too. I was drawn to the lemon, red onion, and oregano jam because of its savory potential. Thanks to the folks at Storey, I’m sharing the recipe for lemon, red onion, and oregano jam and I have a copy of Put ‘Em Up! Fruit to give away.
Leave a comment on this post by Tuesday April 16th, 5pm ET to be entered to win a copy of Put ‘Em Up! Fruit. (US readers only please)
Be sure to check out the other “stops” on the blog book tour for more recipes and chances to win! And check out the book trailer and more about the book at: http://whol.st/oreyFruit.
lemon-onion-oregano-jam-2

Lemon, Red Onion, and Oregano Jam

Excerpted from Put ’em Up! Fruit (c) by Sherri Brooks Vinton, photography (c) by Jennifer May, used with permission from Storey Publishing.

Makes 5 cups

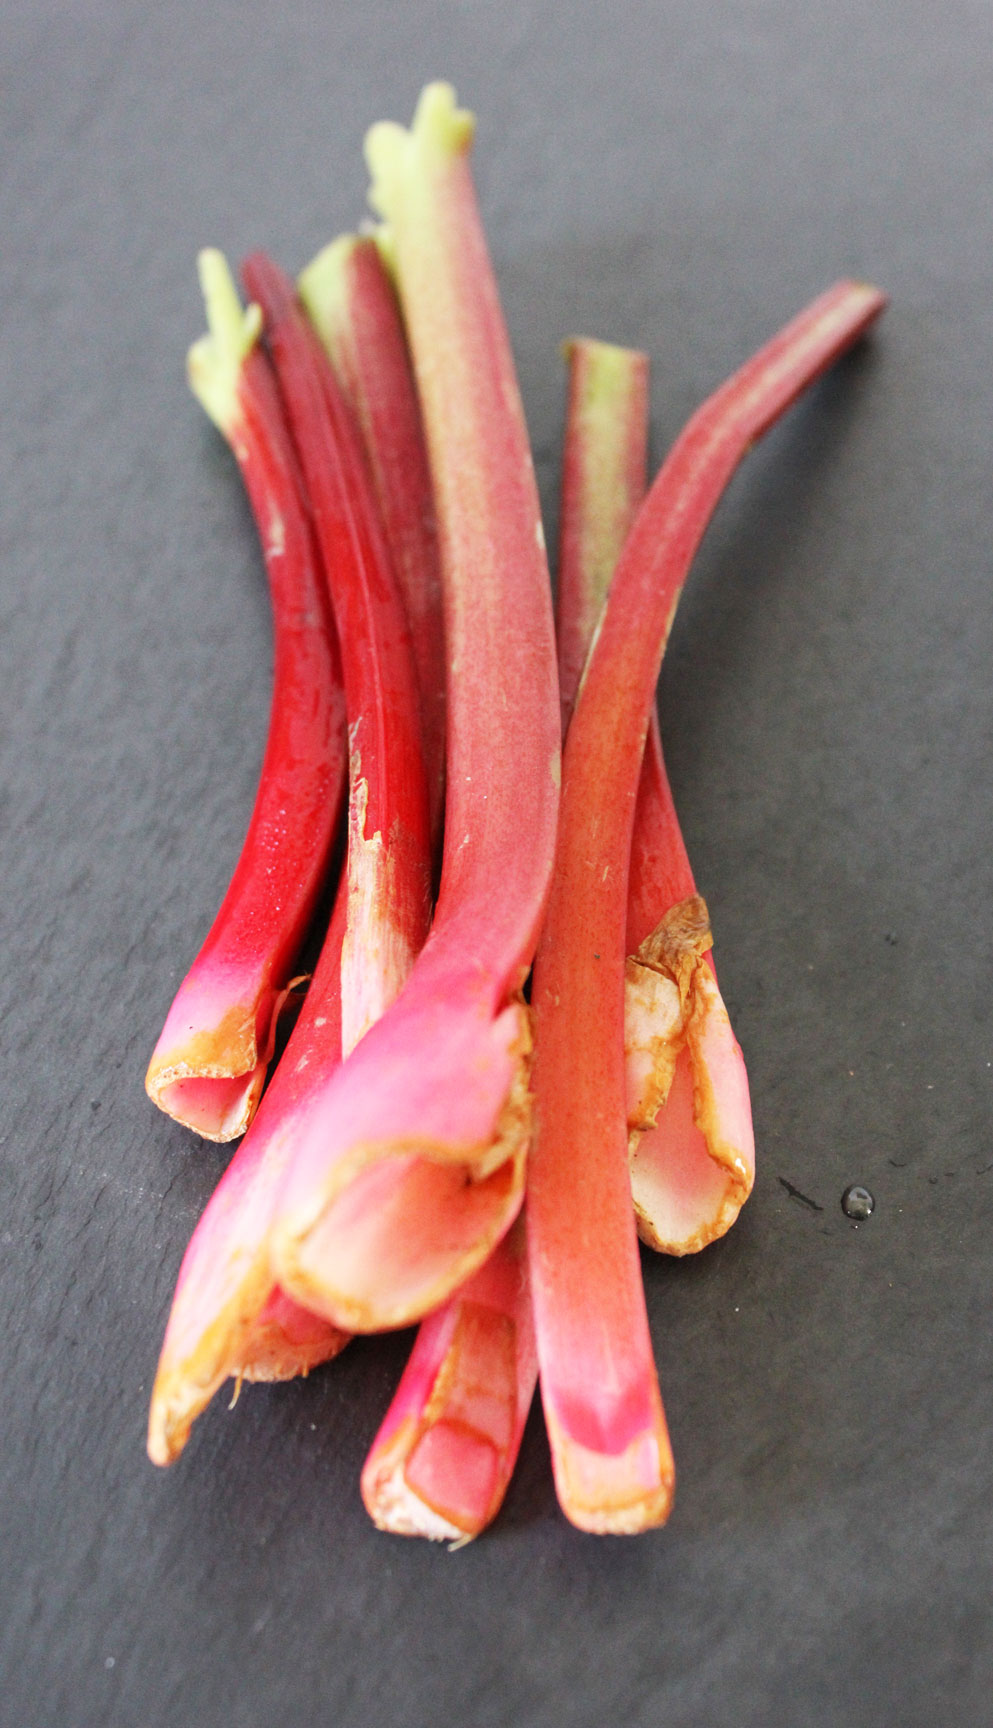
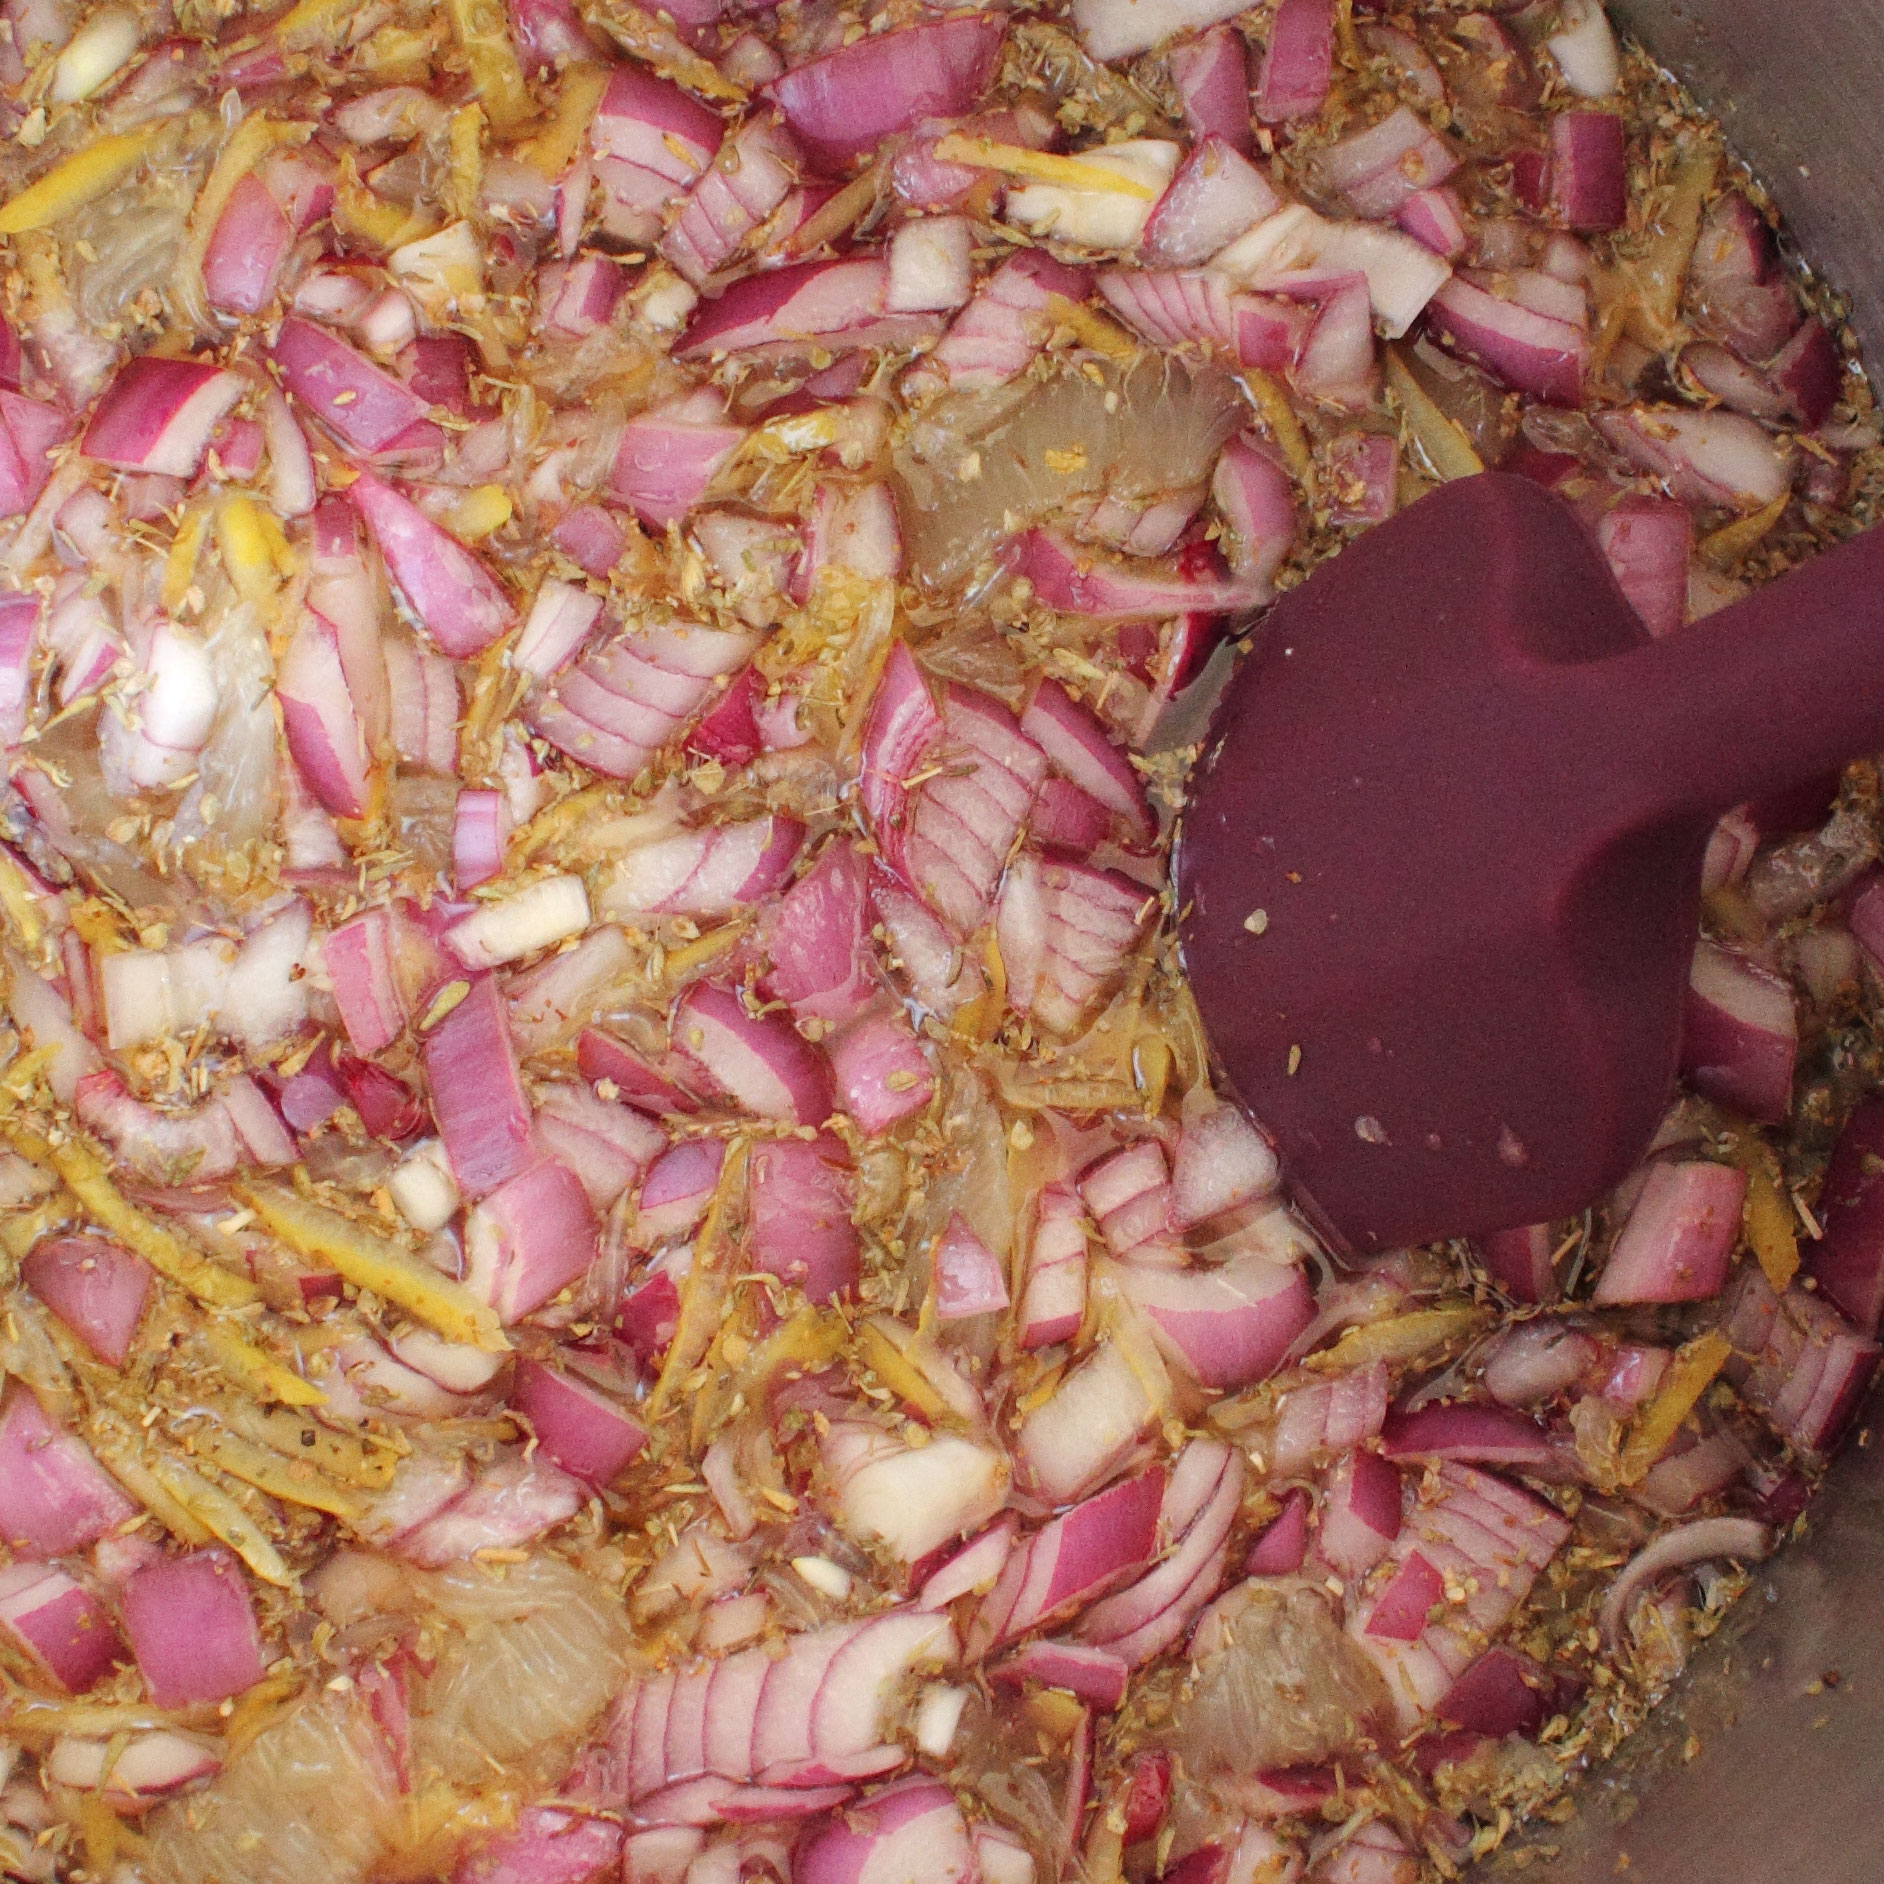
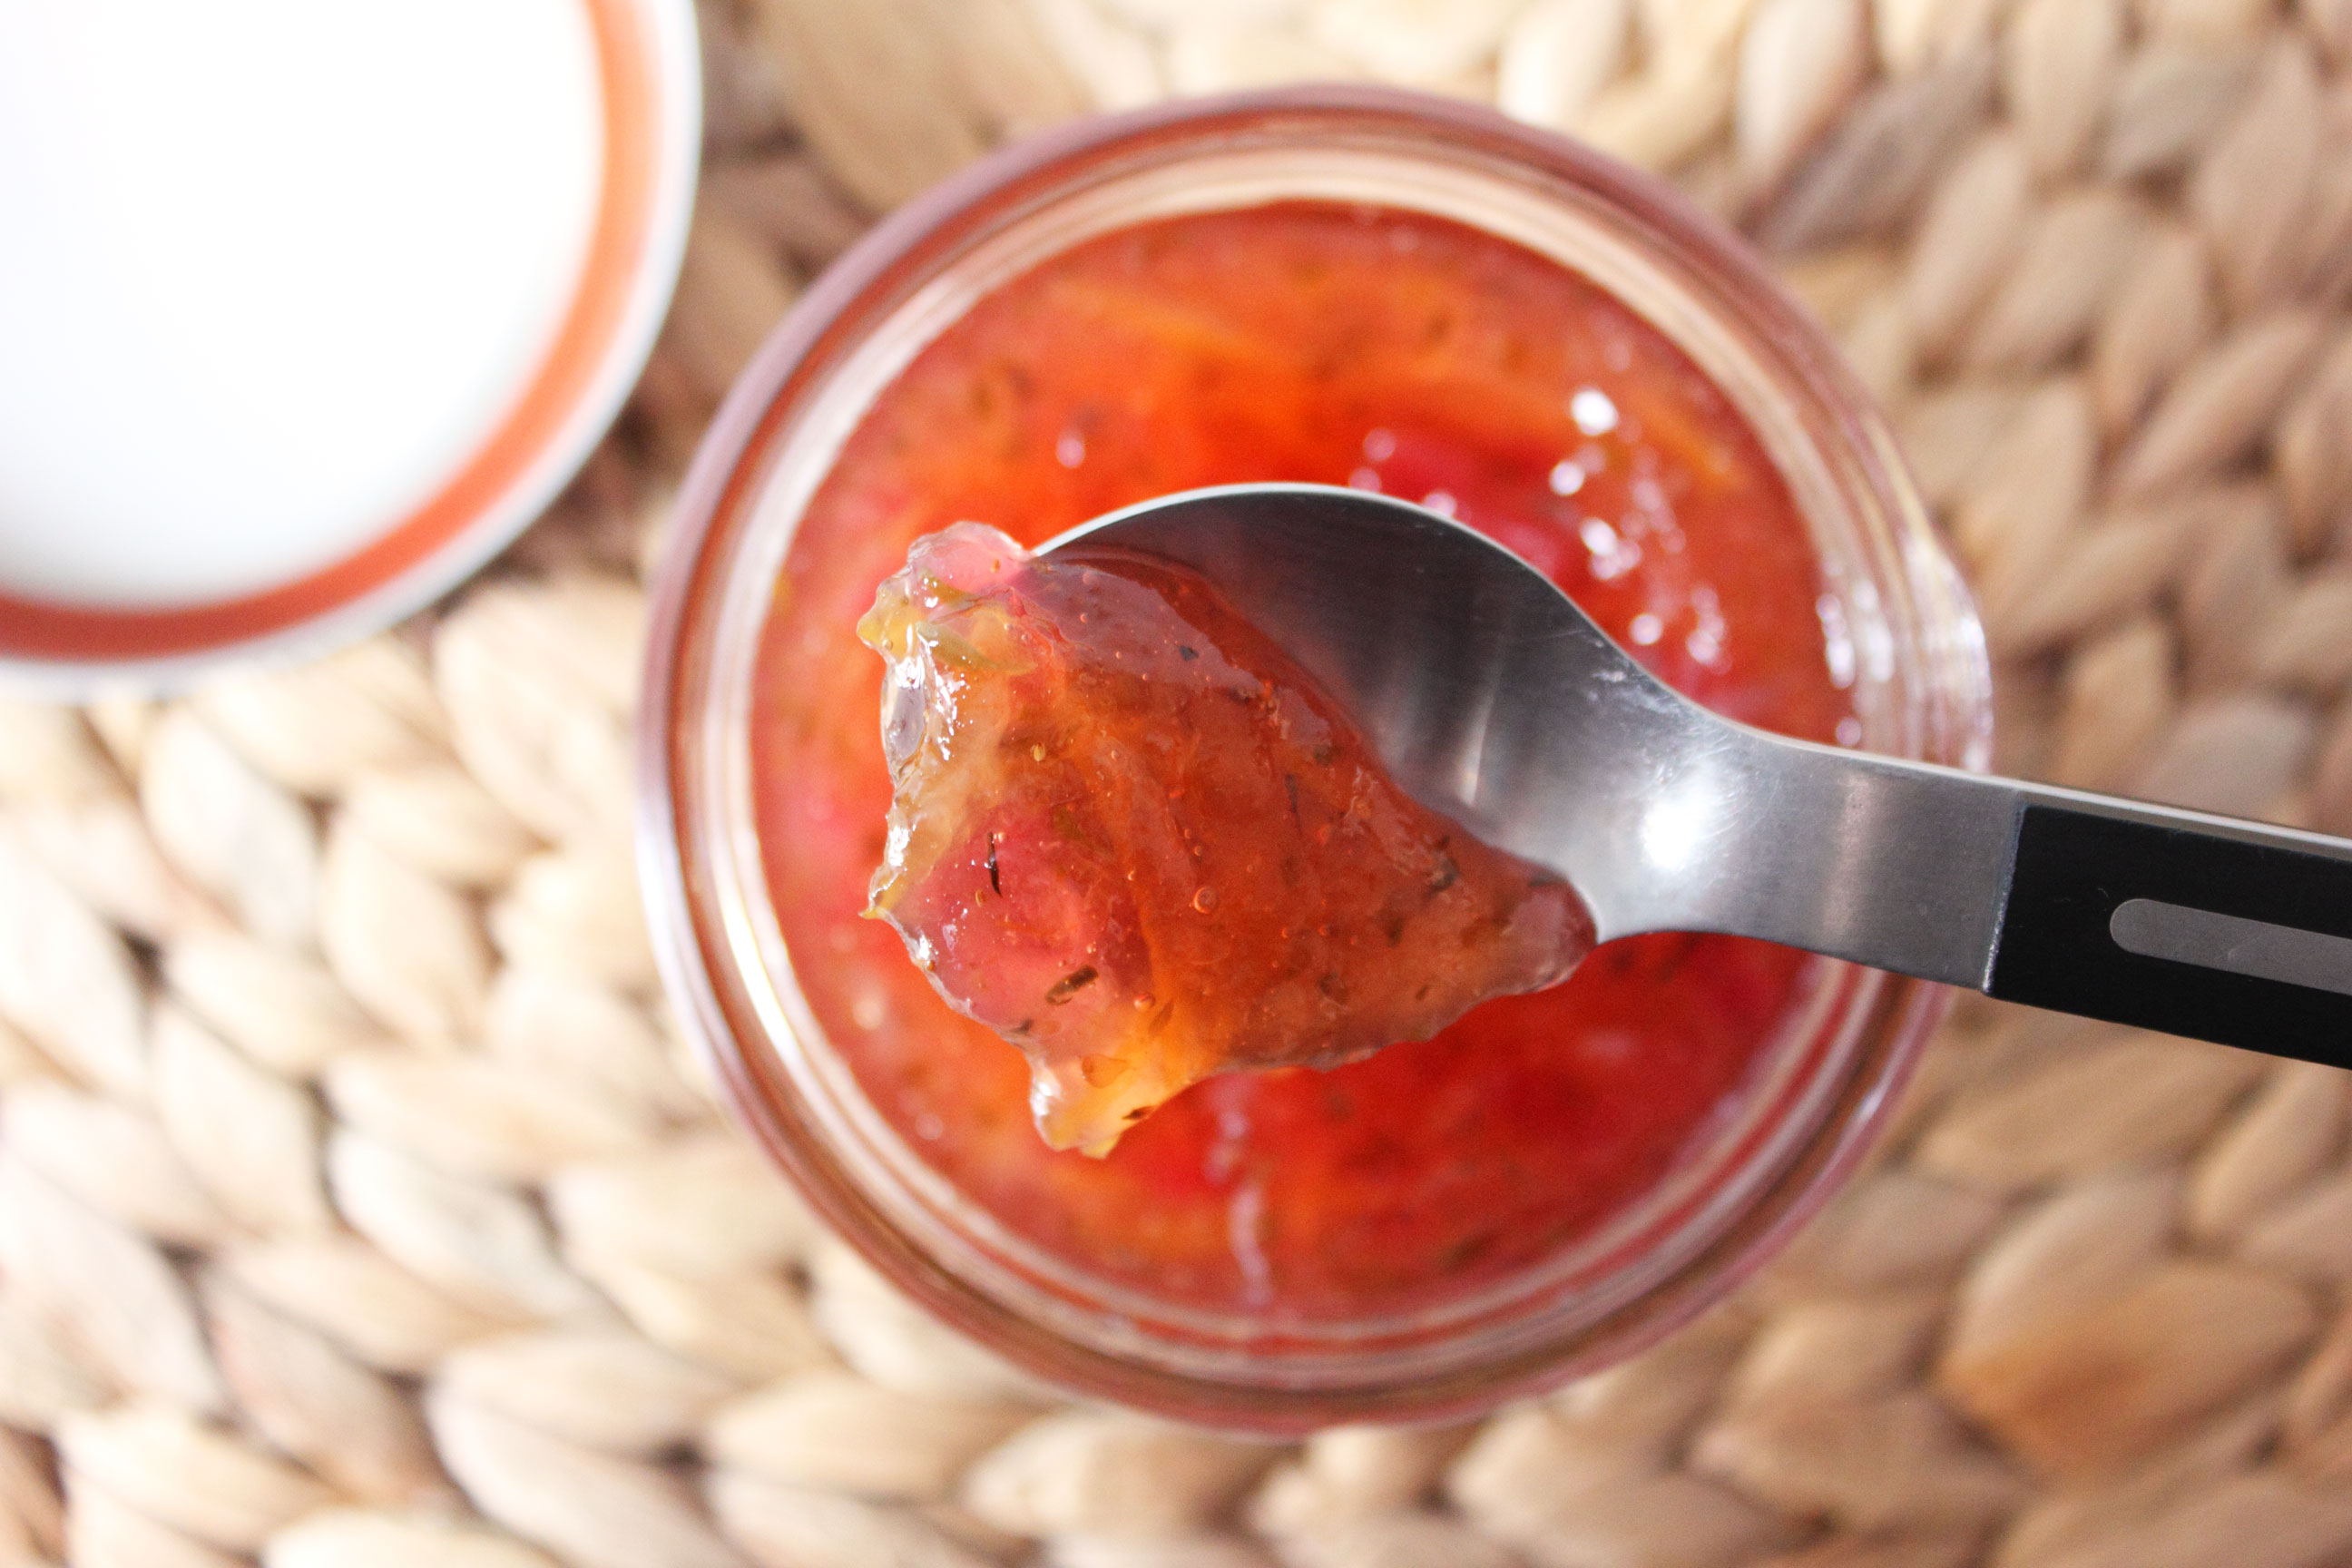
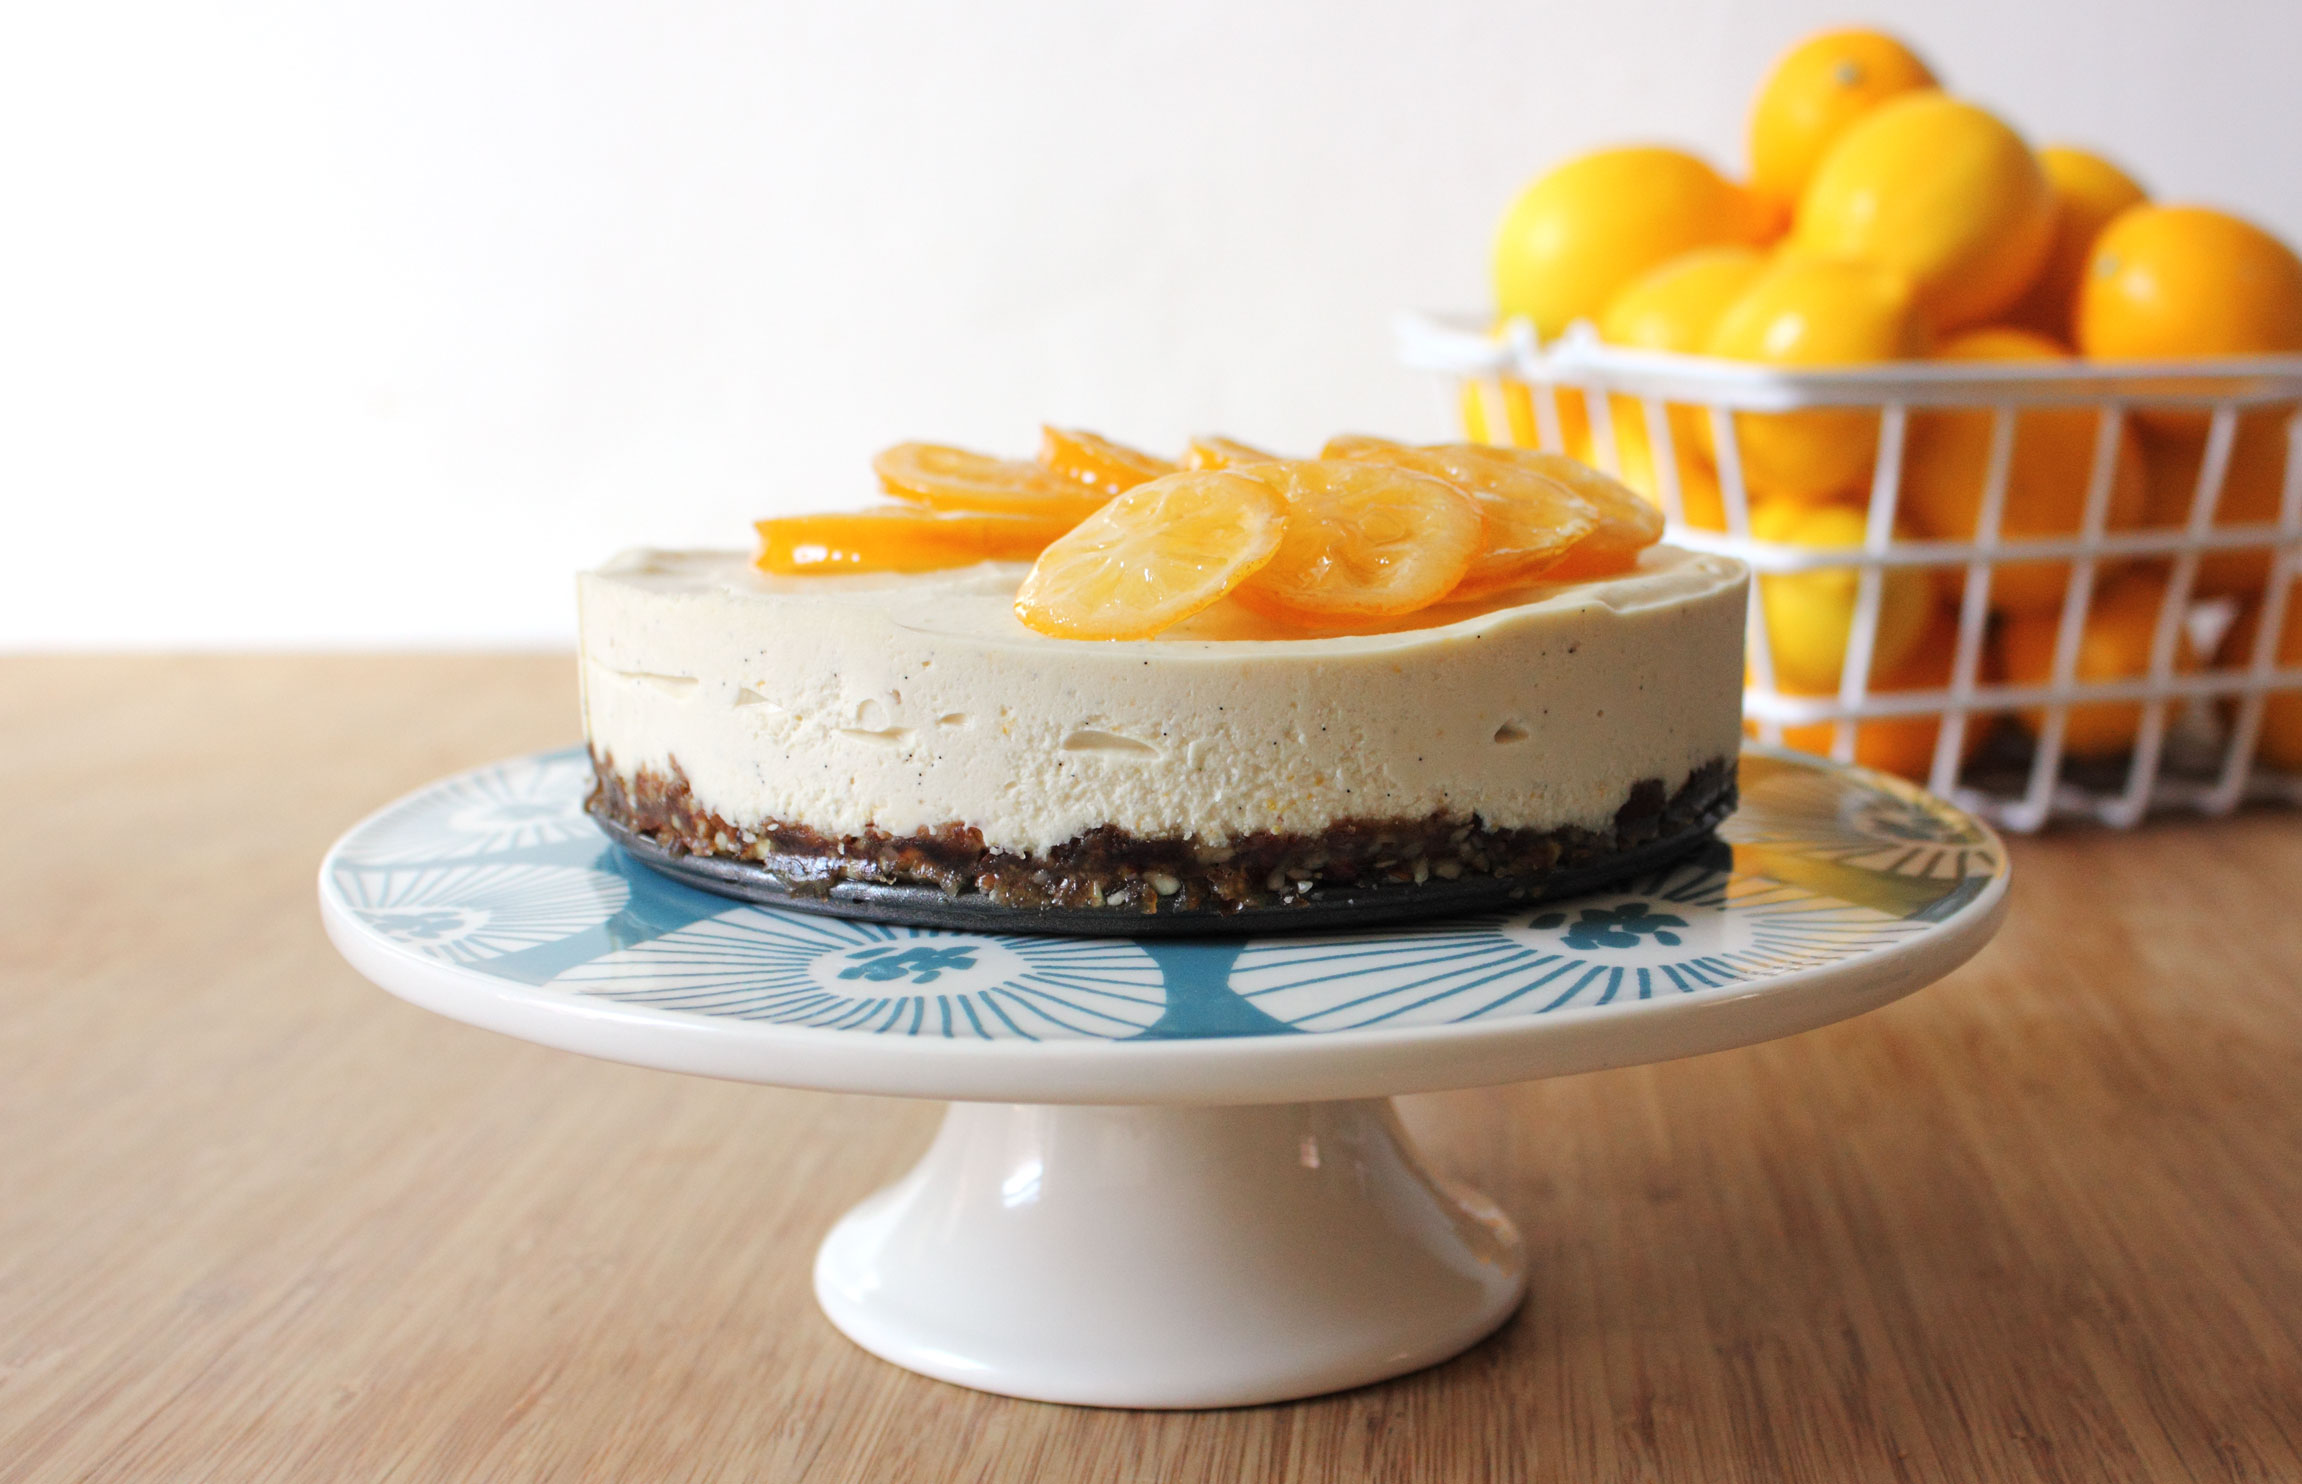
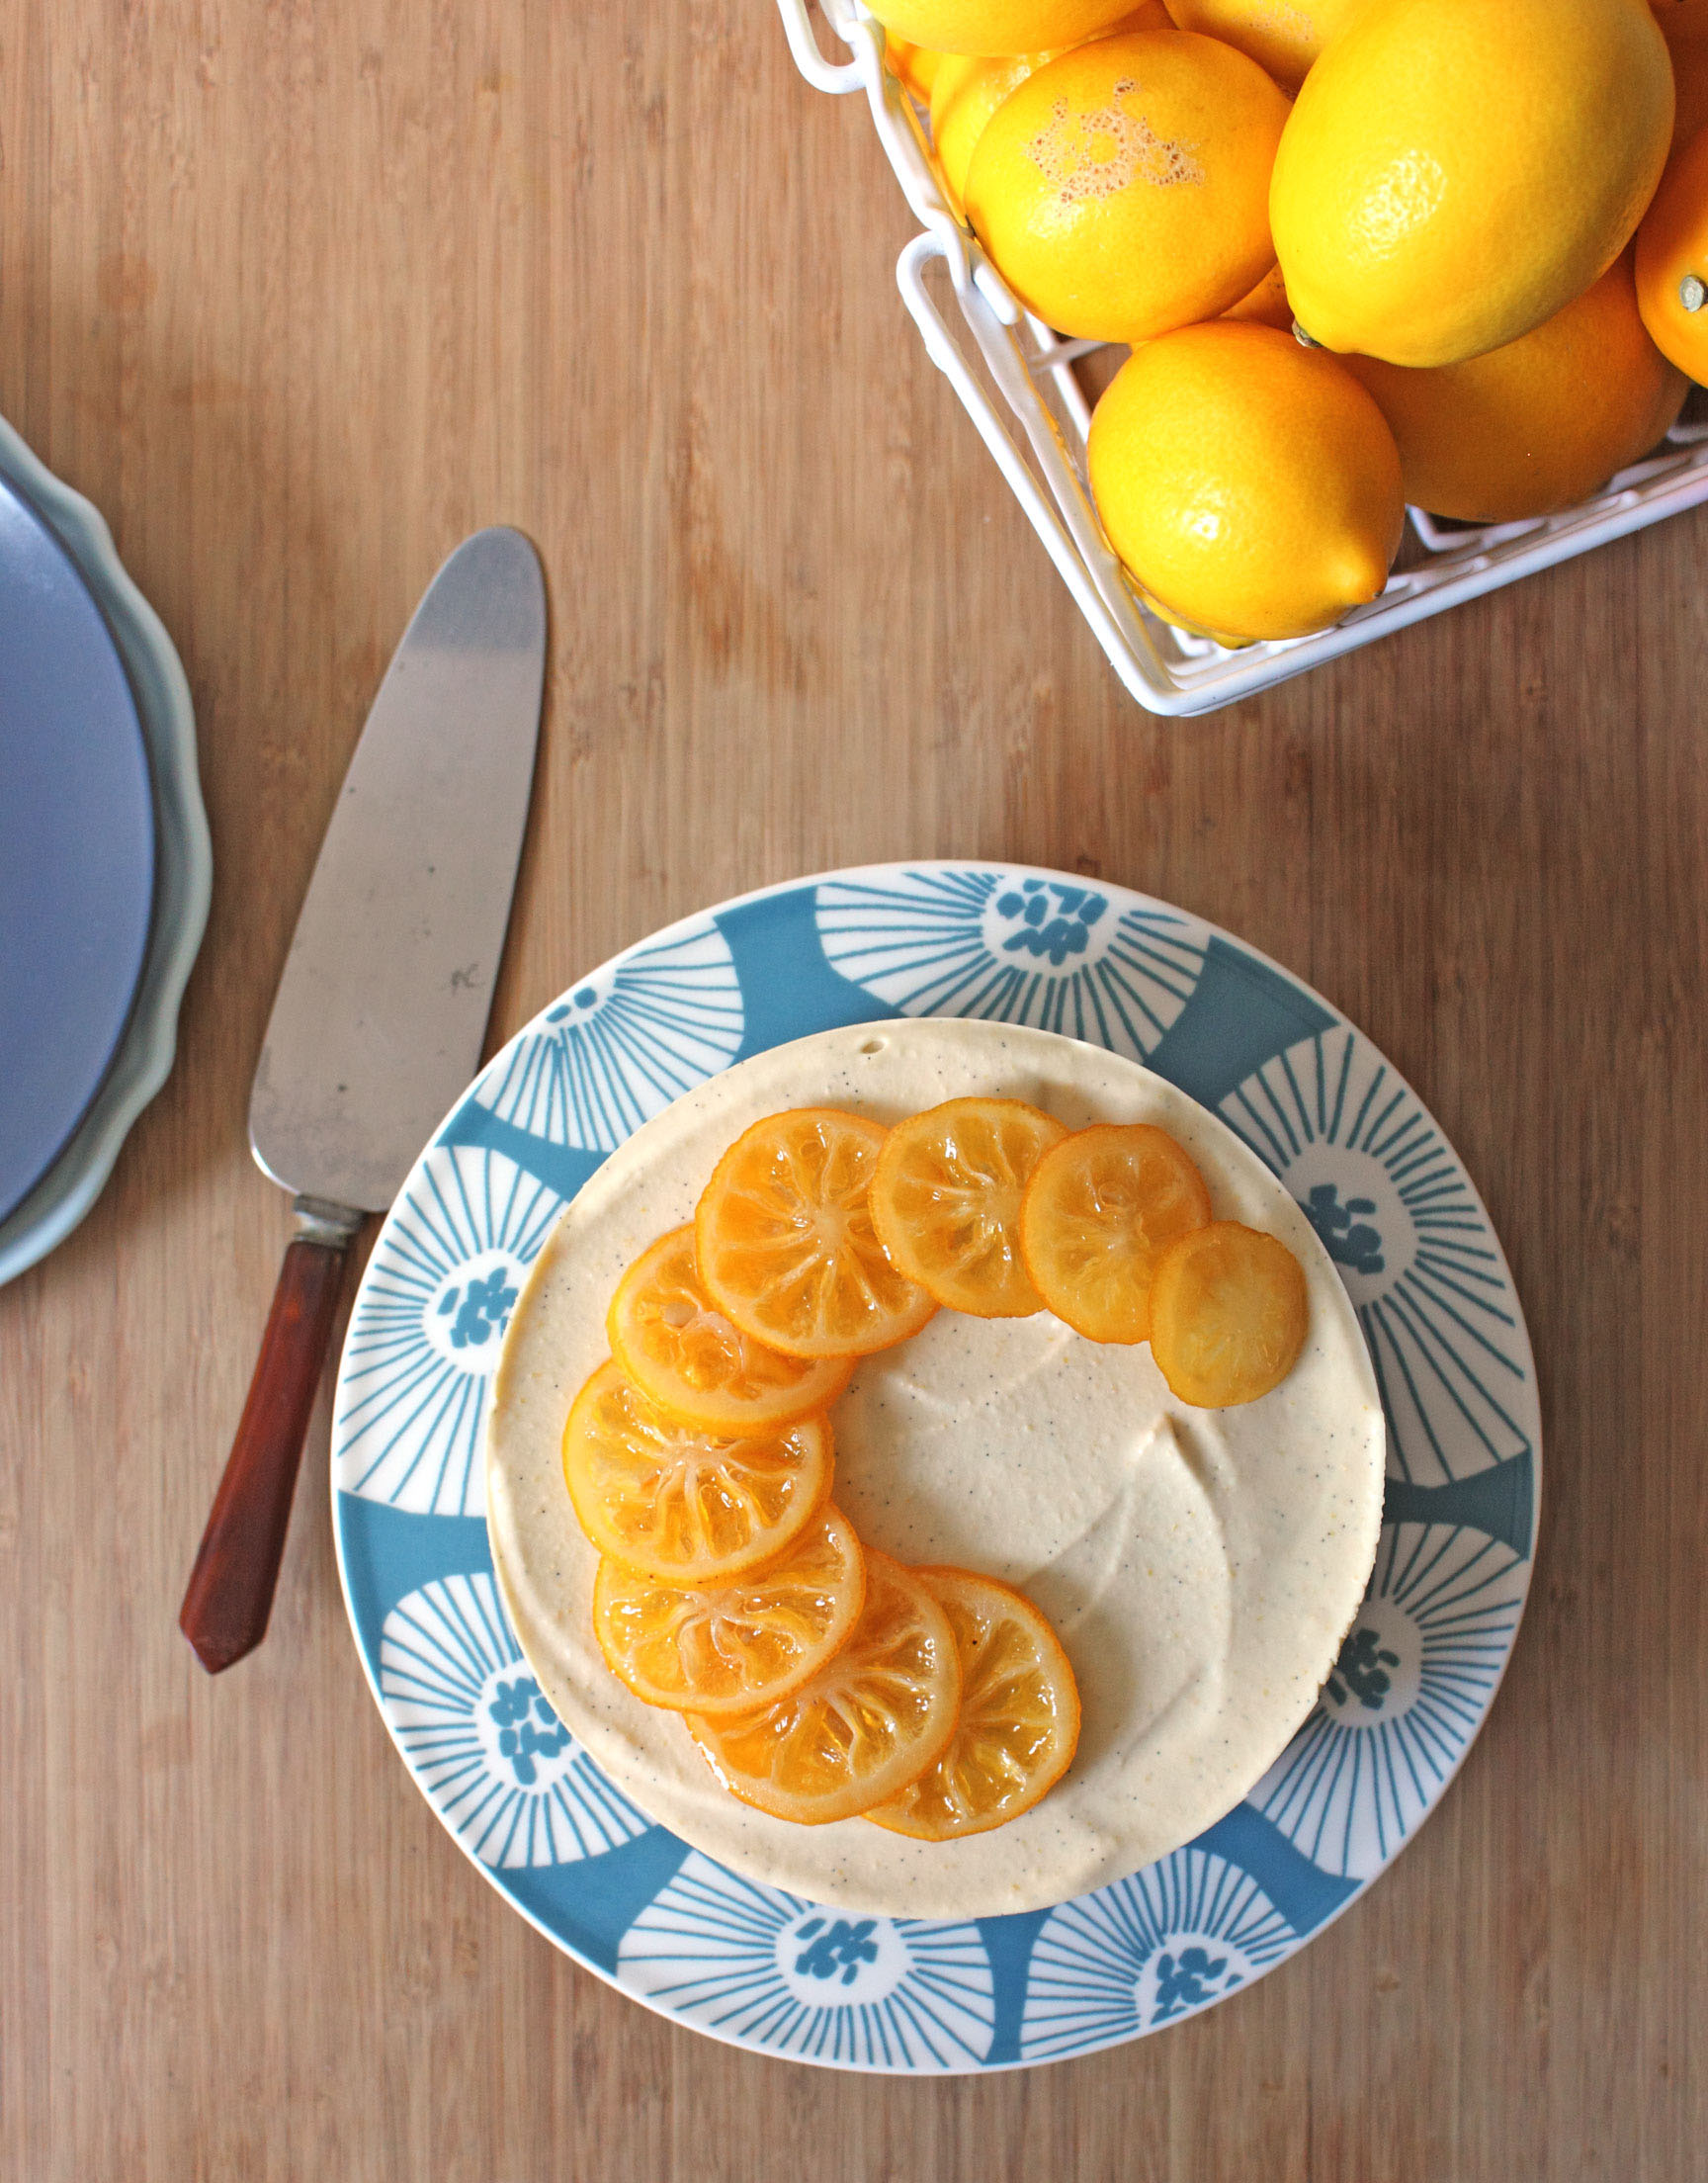
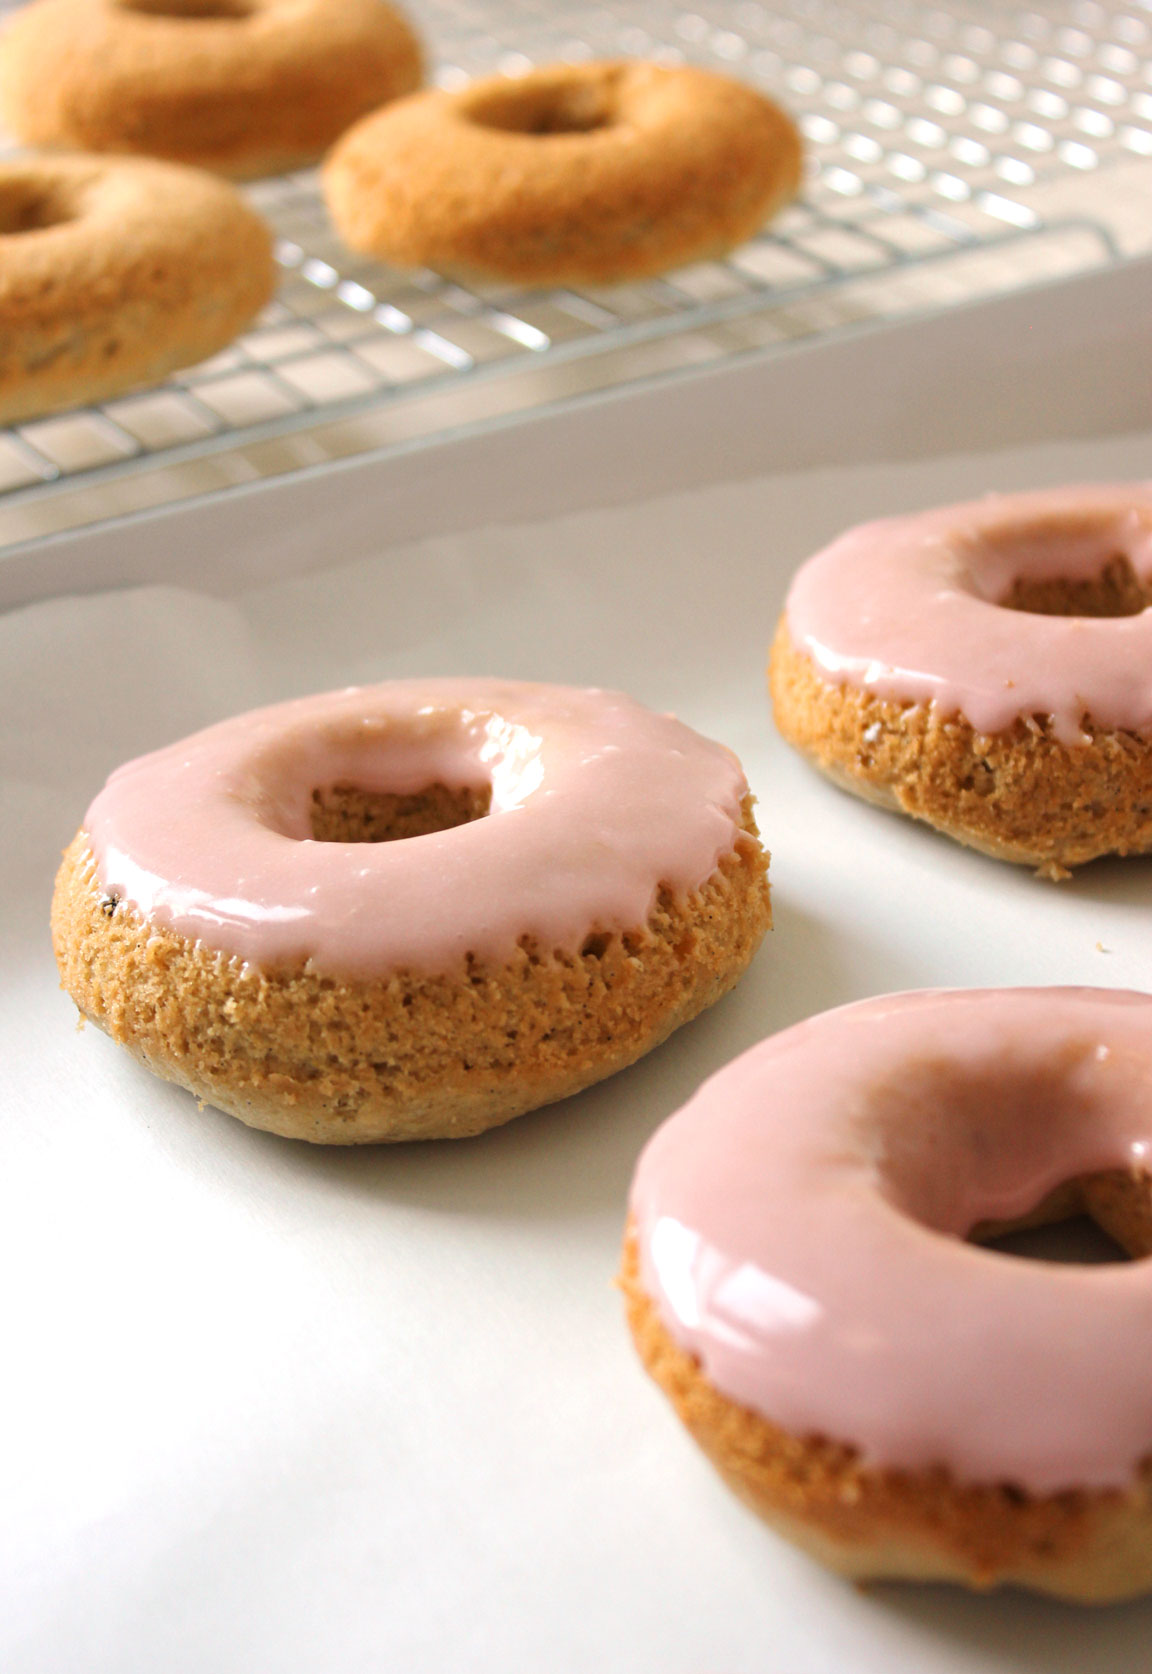
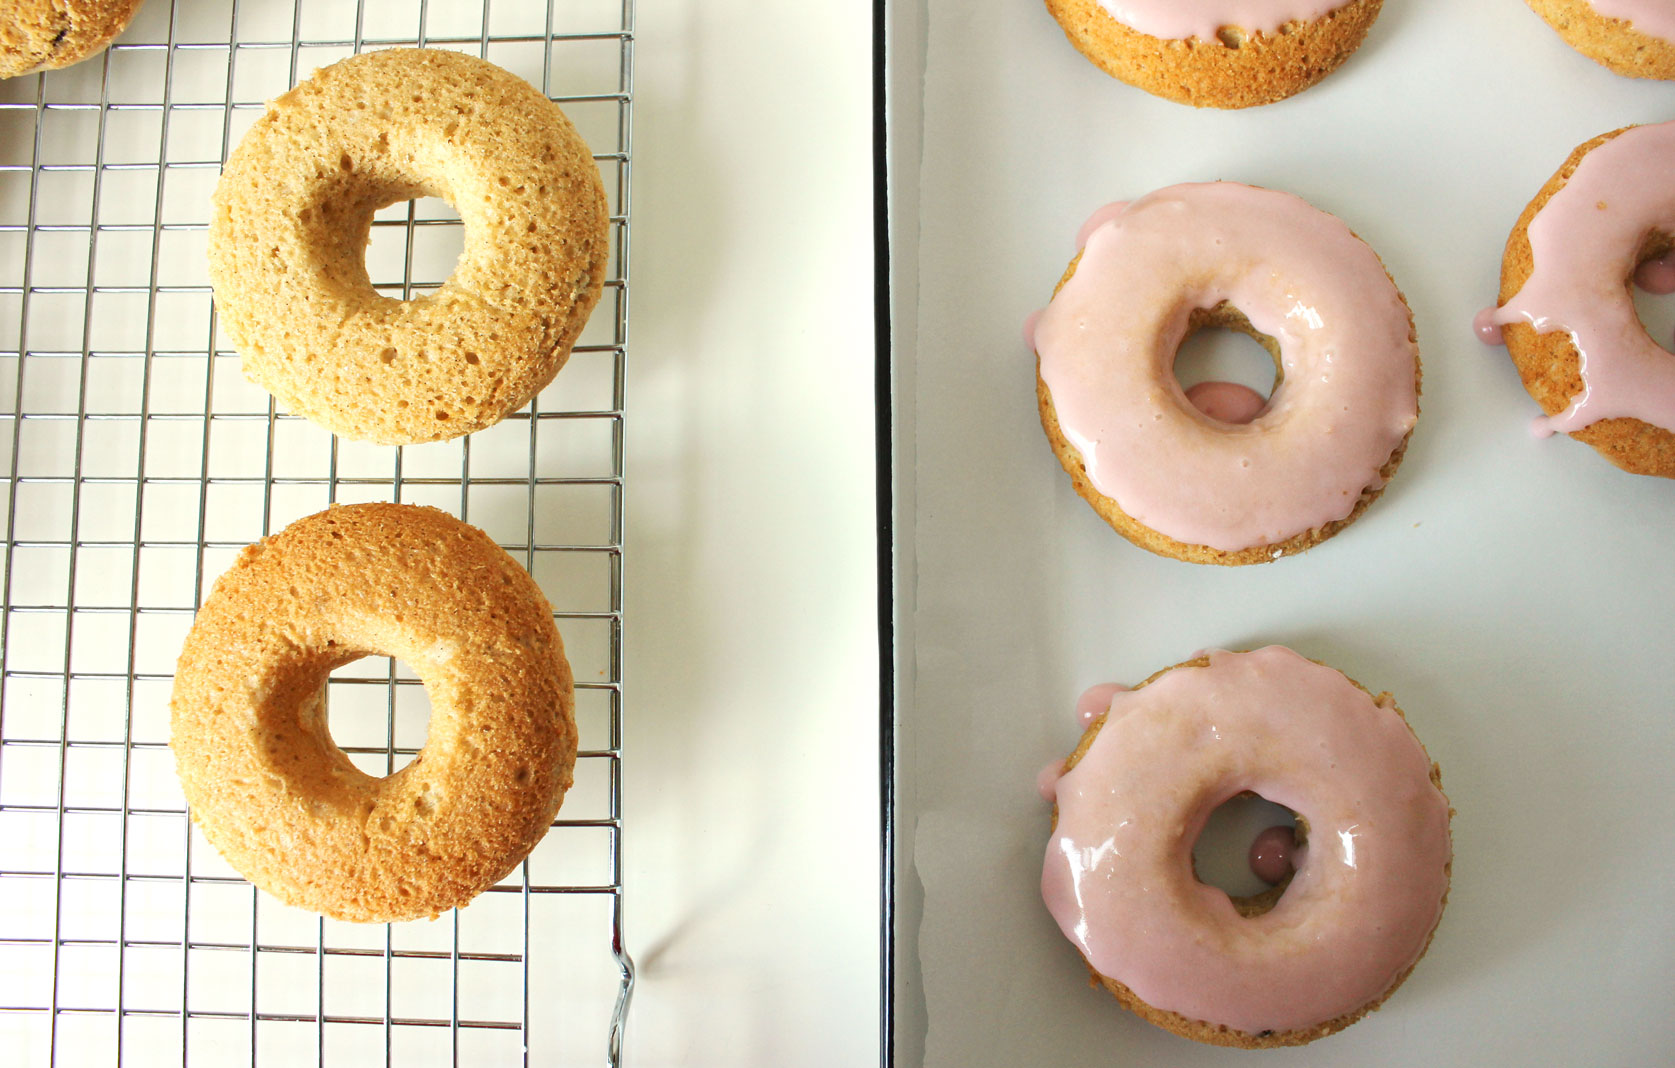
This recipe is a tad intense to prep. Halfway through julienning the lemon zest I start to curse the fuss of it. But all the fuss is forgotten when the heat hits the pot — the perfume of the lemons and lovely pink hue that the onions bring to the picture dispel all memory of tedium. This is truly a gorgeous jam.

Ingredients

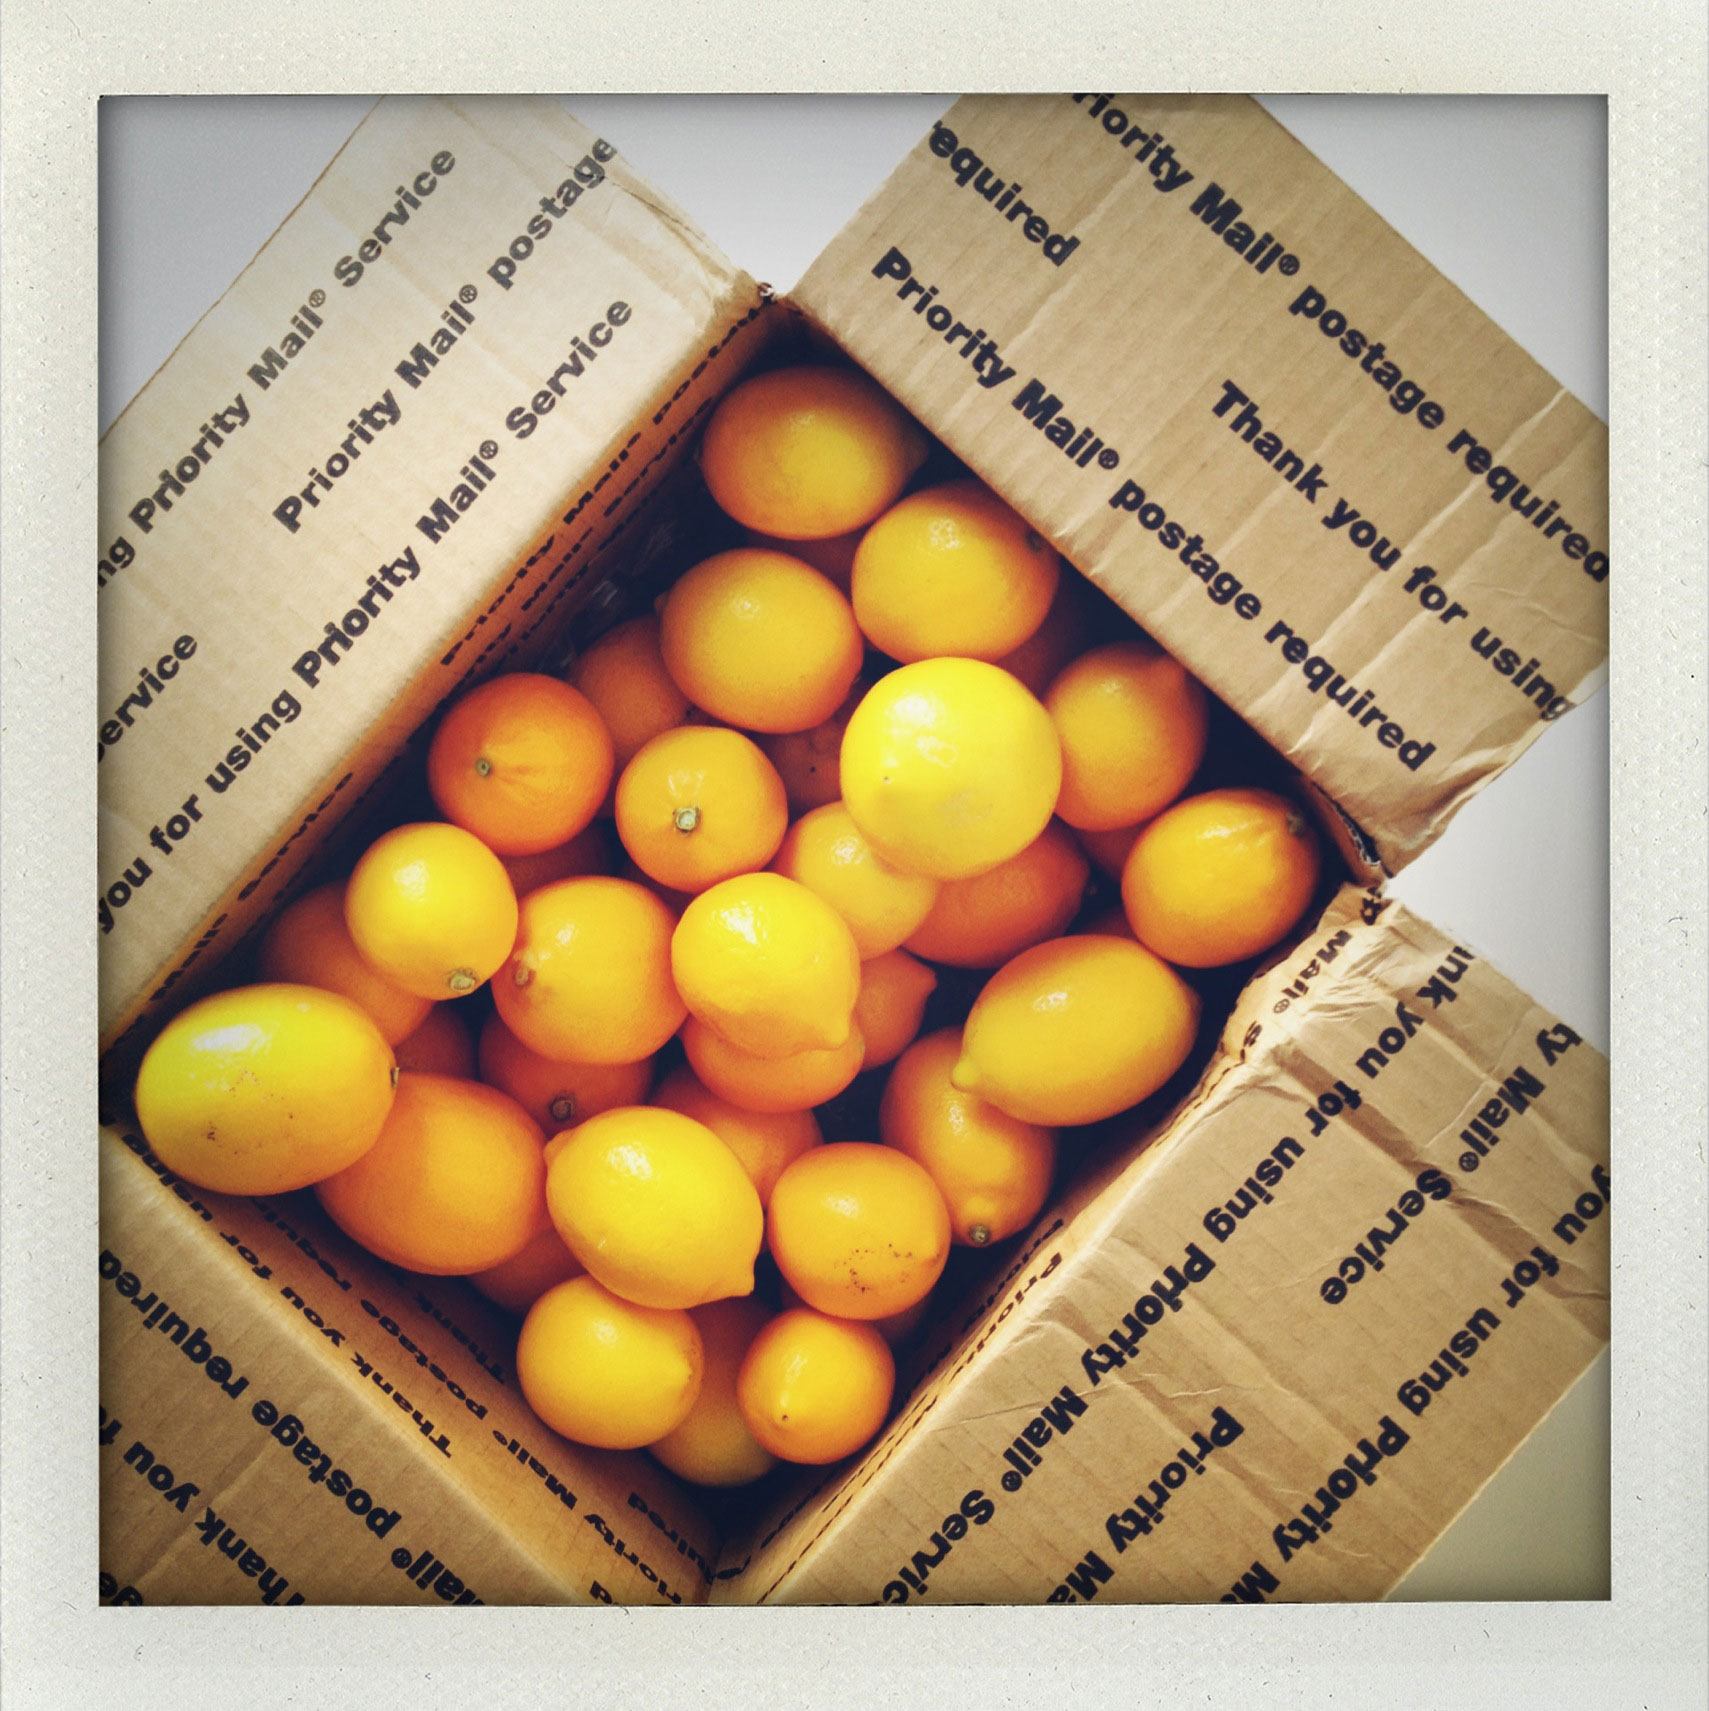
          2  pounds lemons (8–10)

          2  cups water

          4  cups sugar

          4  teaspoons Pomona’s Universal Pectin

          1  pound red onions (about 1 large or 2 medium), diced

          ½  cup red wine vinegar

          2  tablespoons dried oregano

          ½  teaspoon salt

          ¼  teaspoon freshly ground black pepper

          4  teaspoons calcium water (from the Pomona’s Universal Pectin kit)

Prepare

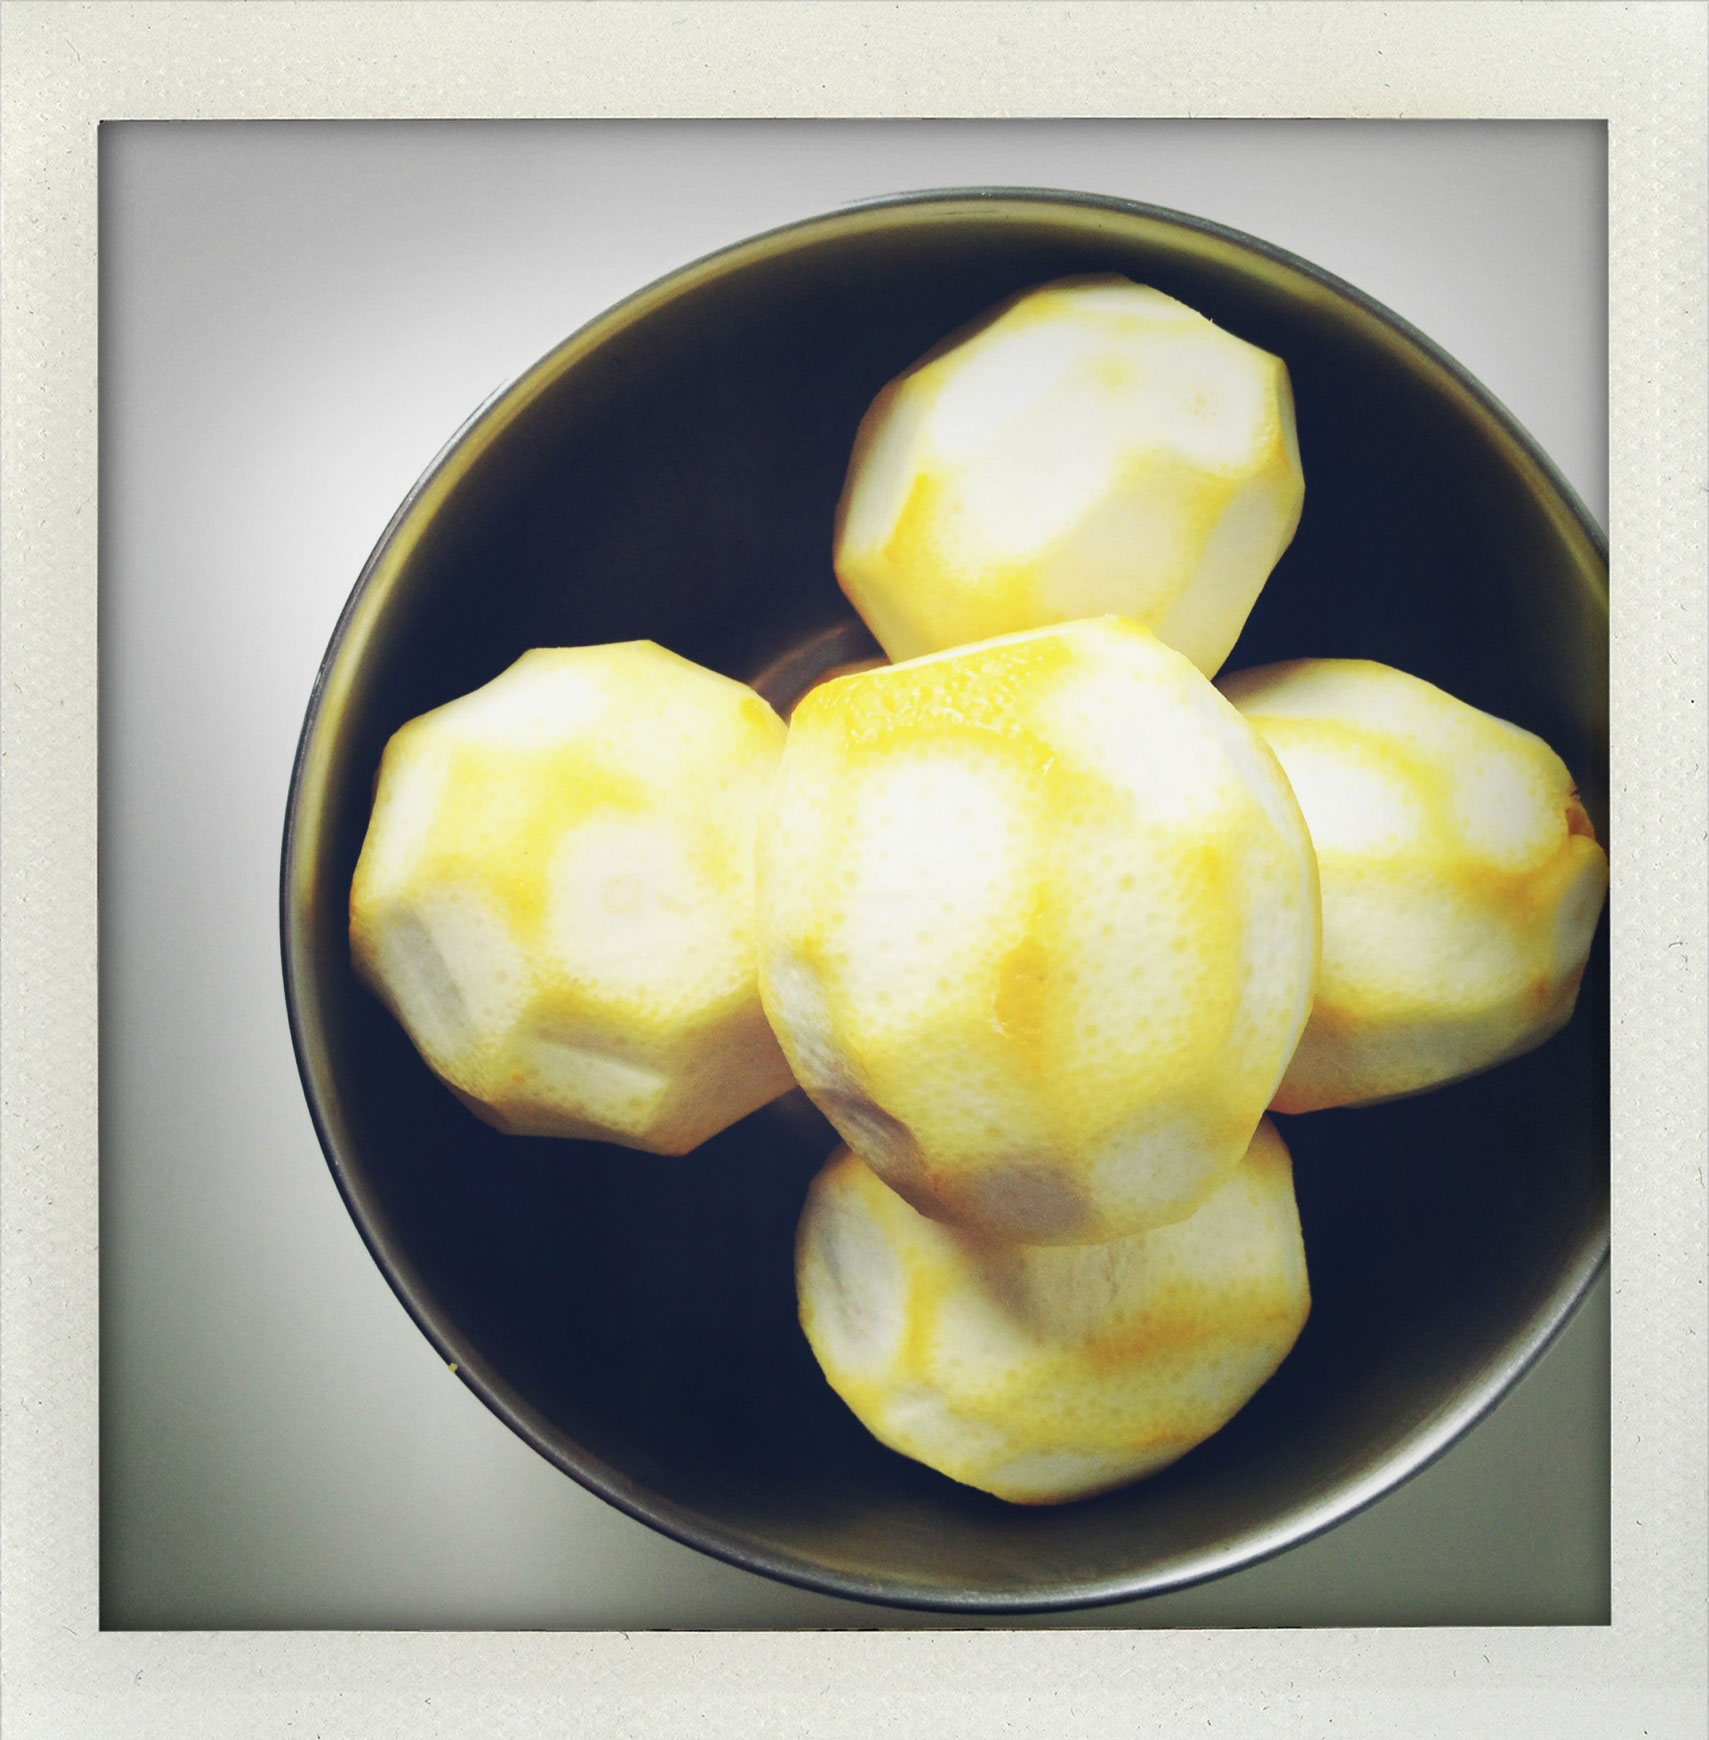
1. Using a vegetable brush, scrub the fruit with a nontoxic, odorless dish soap and hot water.

2. Remove the zest from the lemons with a vegetable peeler, being sure to leave any white pith behind. Julienne the zests. (See page 35 for more on julienne.) Combine the zests and water in a small nonreactive saucepan and bring to a boil. Reduce the heat, cover, and simmer gently for 30 minutes to soften the zests.

3. Combine 2 cups of the sugar with the pectin in a small bowl and set aside.

4. Supreme the lemons (see page 130), discarding the white pith and seeds. Combine the lemon flesh with the softened zests and their simmering liquid in a large nonreactive pot. Add the remaining 2 cups sugar, onion, vinegar, oregano, salt, and pepper. Bring to a boil, stirring to dissolve the sugar, and then reduce the heat and simmer, stirring occasionally, until the onions are translucent, about 10 minutes.

5. Stir in the calcium water. Slowly add the pectin mixture, stirring constantly to avoid clumping. Bring to a boil, reduce the heat, and simmer for 1 to 2 minutes, continuing to stir constantly, until the sugar is completely dissolved.

6. Remove from the heat. Allow the jam to rest for 5 minutes, giving it an occasional gentle stir to release trapped air; it will thicken slightly. Skim off any foam.

Preserve

Refrigerate: Cool, cover, and refrigerate for up to 3 weeks.

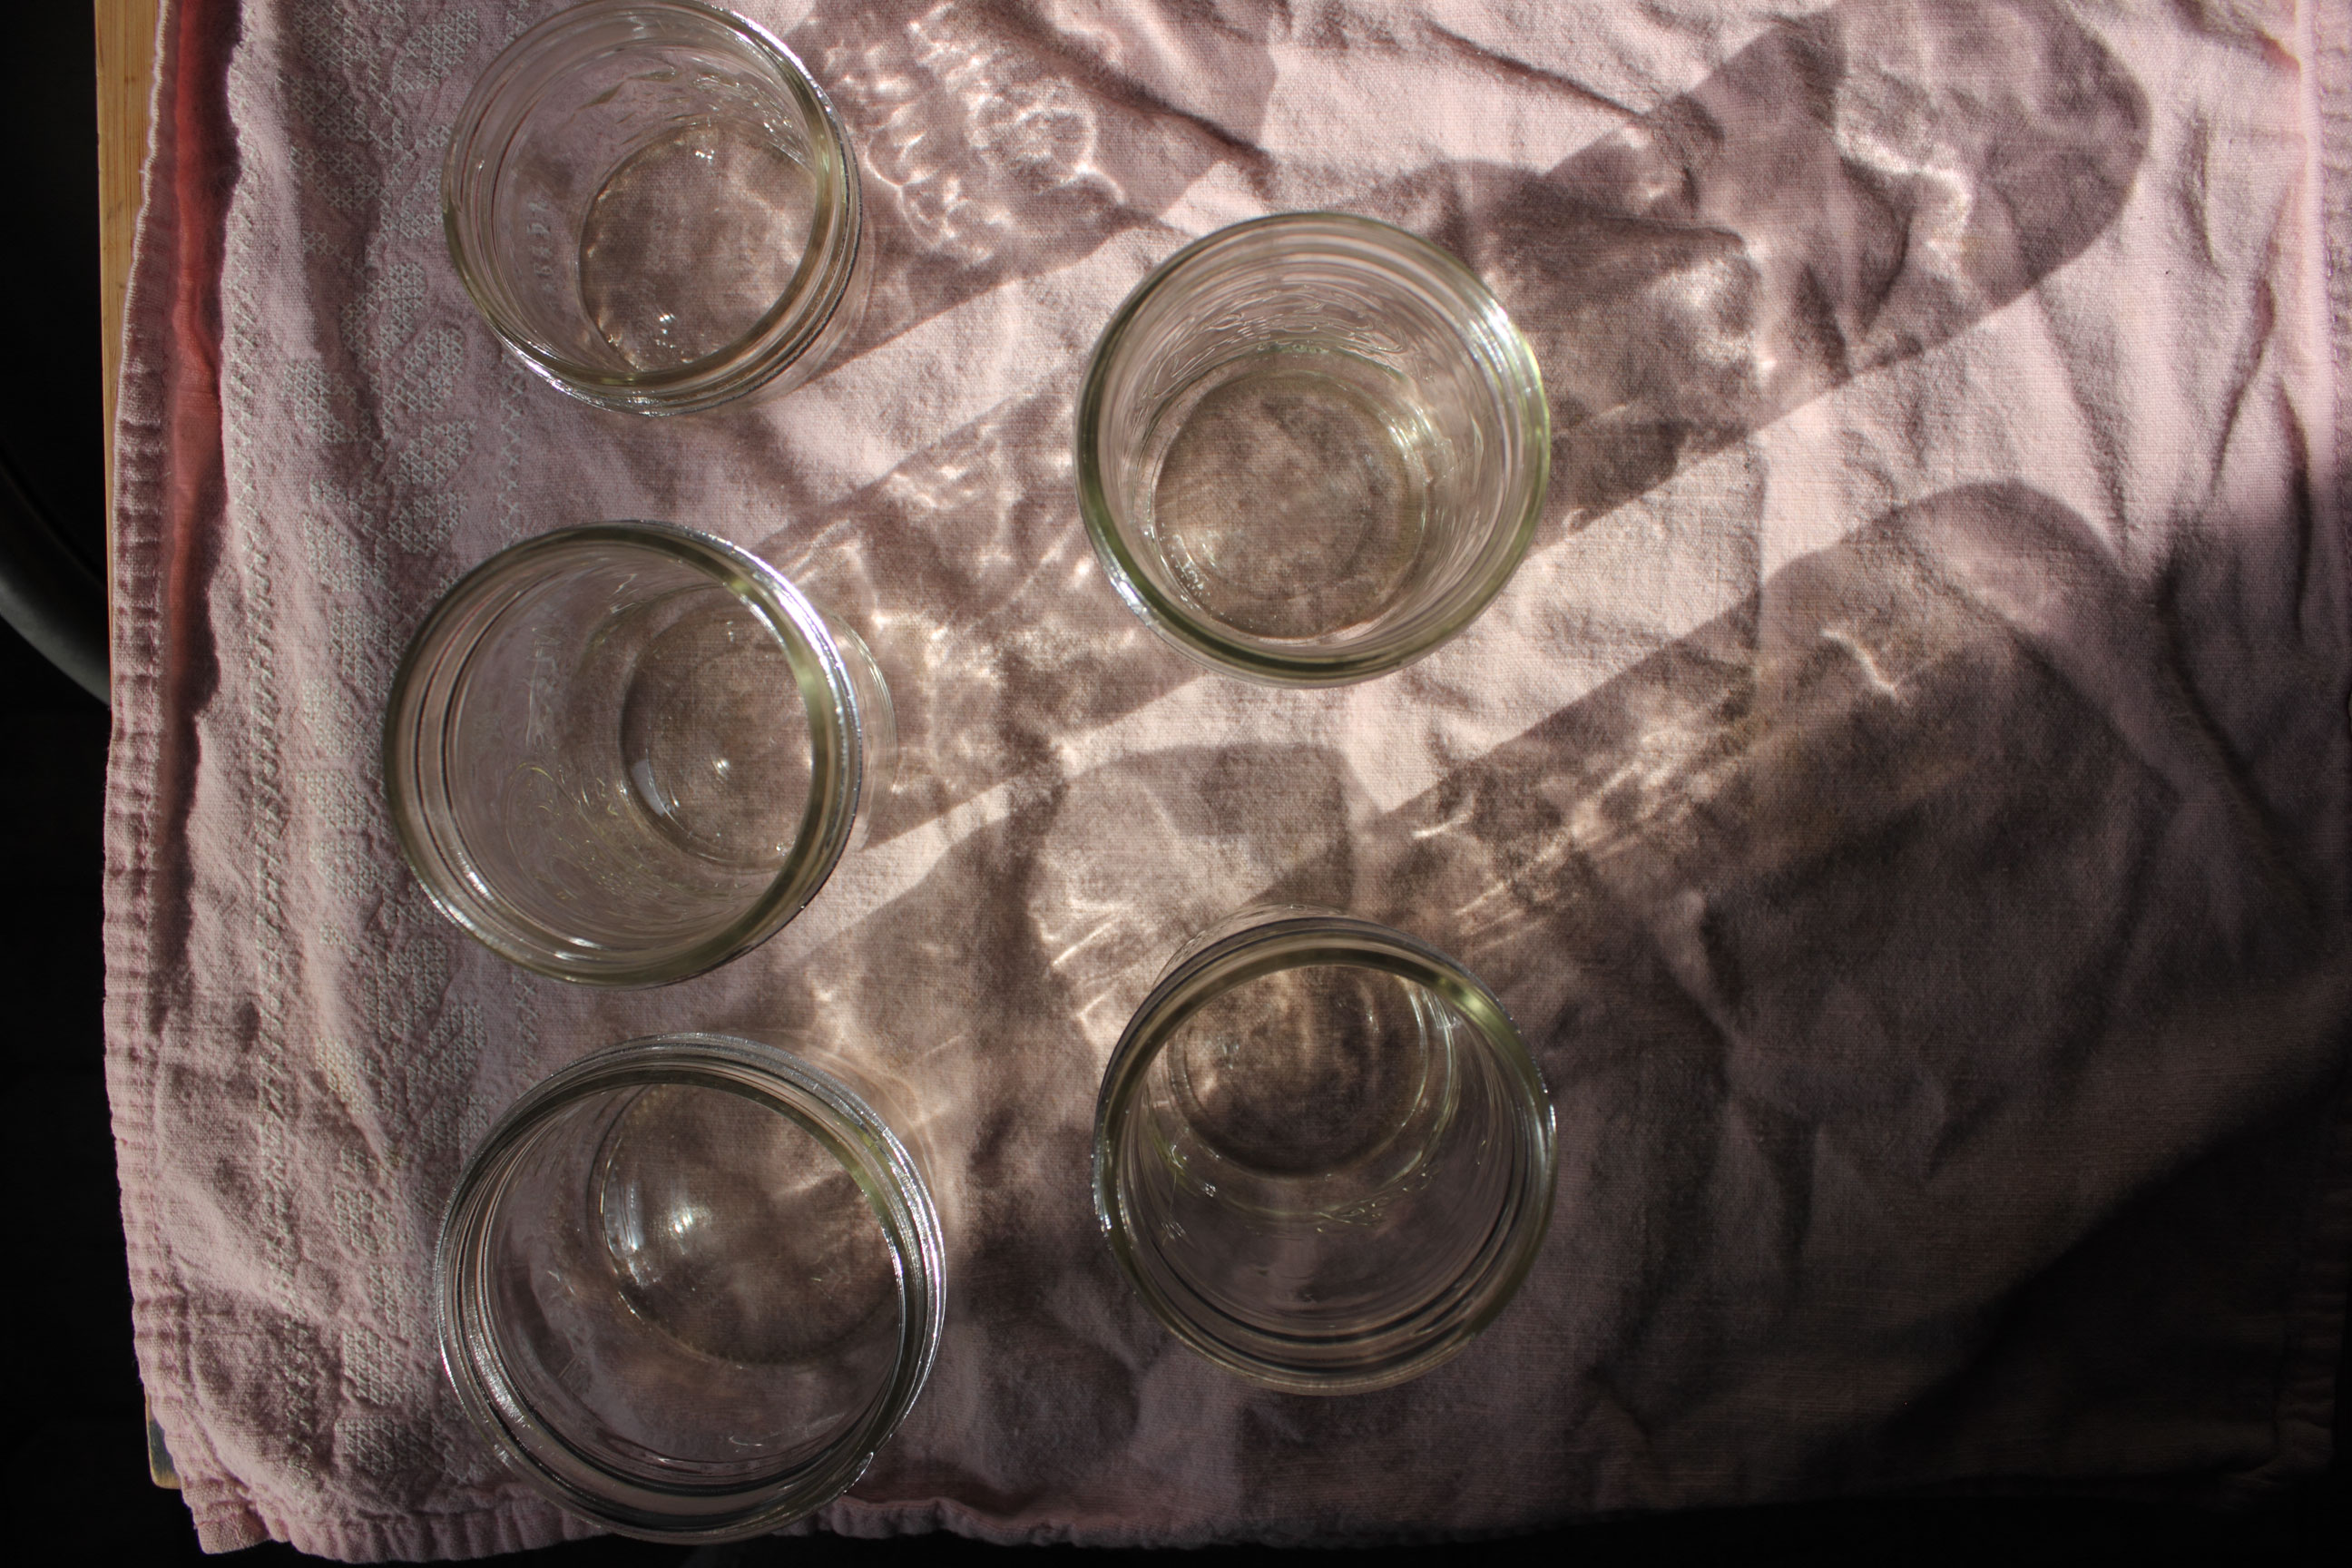
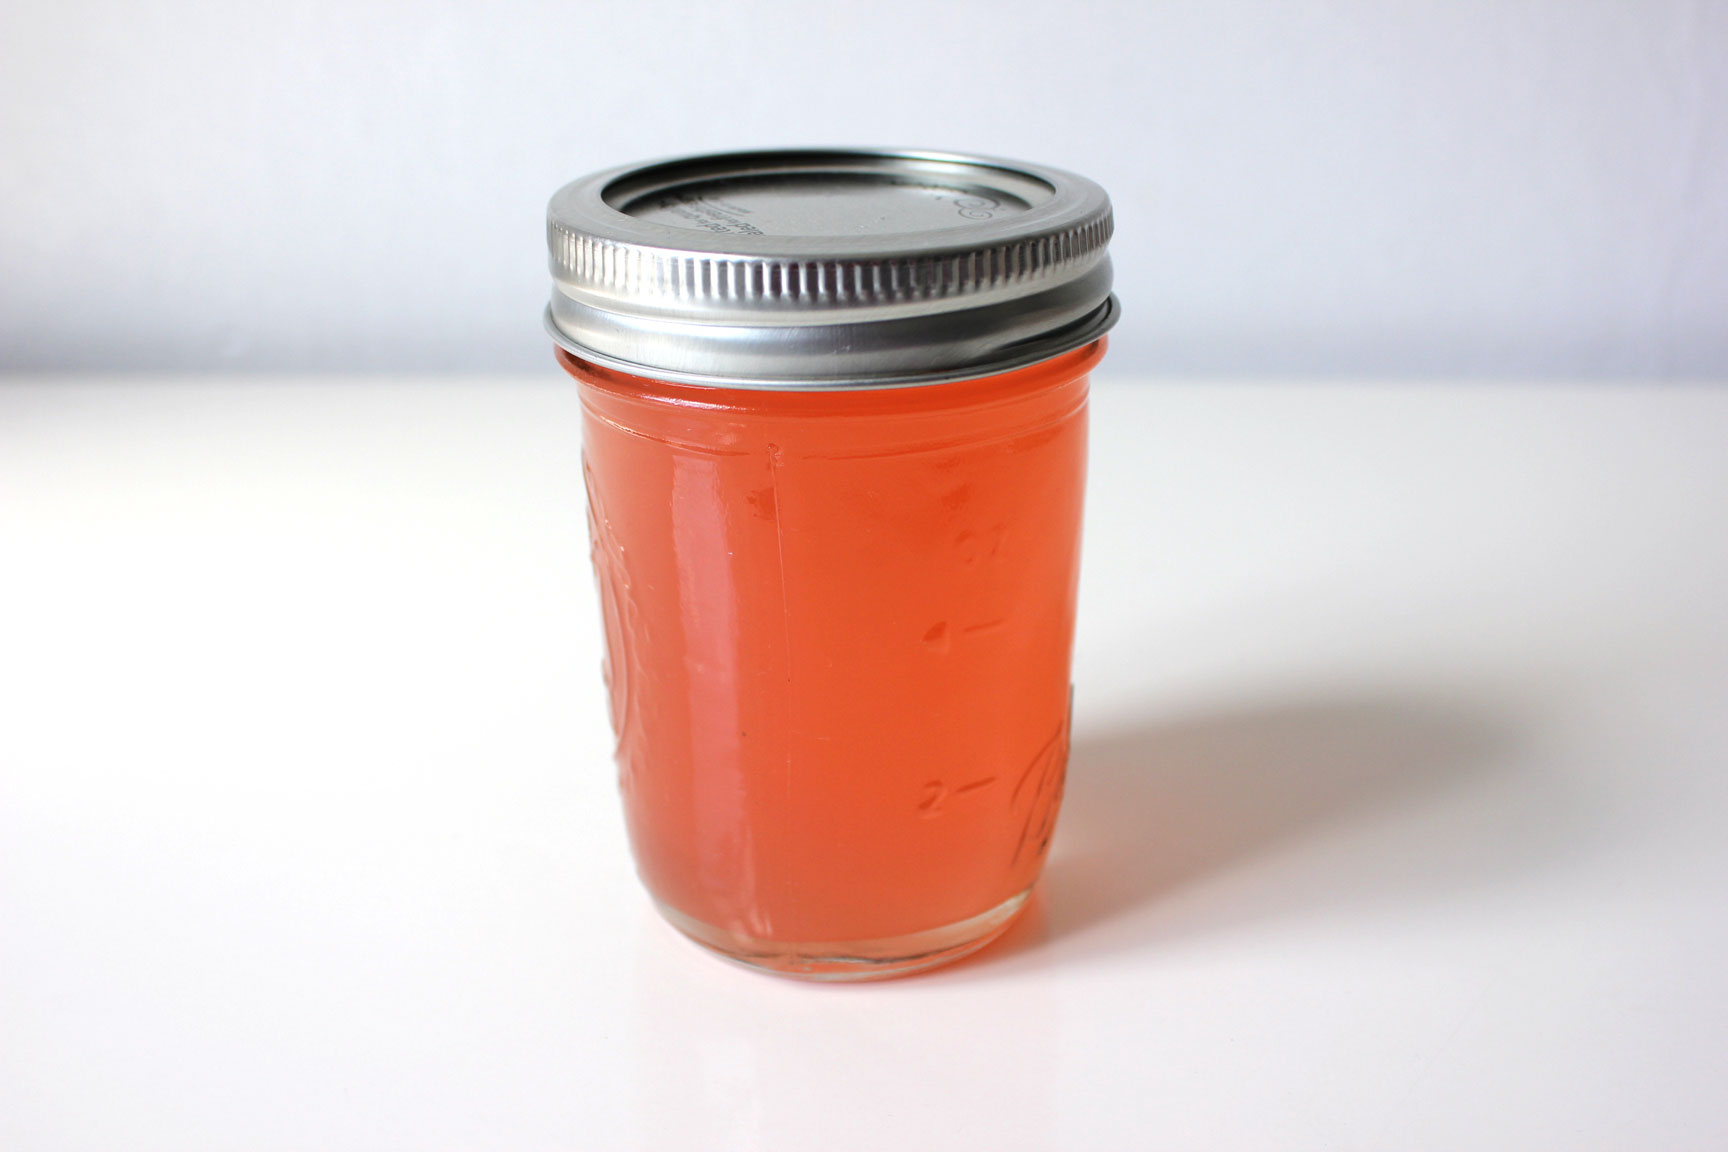
Can: Use the boiling-water method as described on page 20. Ladle the jam into clean, hot half-pint jars, leaving 1/4 inch of headspace between the top of the jam and the lid. Run a bubble tool along the inside of the glass to release trapped air. Wipe the rims clean; center lids on the jars and screw on jar bands until they are just fingertip-tight. Process the jars by submerging them in boiling water to cover by 2 inches for 10 minutes. Turn off the heat, remove the canner lid, and let the jars rest in the water for 5 minutes. Remove the jars and set aside for 24 hours. Check the seals, then store in a cool, dark place for up to 1 year.

(Disclosure: I received a free review copy of this book from the publisher, but my opinions remain my own.)

{ Comments on this entry are closed }

Today I am joining 2oo other food bloggers to amplify the message of the film A Place at the Table and inspire action to fight hunger in America. According to the organization Share Our Strength, “nearly one in five children in America lives in households that struggle to put food on the table.”

Part of what moved me to add my voice to the chorus was my own experiences receiving food stamp benefits and assistance from the free and reduced lunch program. While these benefits were vital to me at the times I received them, they do not address the complex issues of class, gender, racism, generational poverty, and a broken food system that surround hunger. It is with a fierce gratitude that I’m demanding that policies must change. While continuing to fund these national food assistance programs, we must work to eliminate the root causes of hunger.

Here’s what you can do right now:

red-lentils

Today I’m also sharing a recipe for lemon and turmeric lentils that I’ve often turned to in lean times. It has that essential quality of a good budget-friendly recipe, which is that it’s endlessly flexible. Don’t have garlic? Use an onion. Don’t have an onion? That’s fine too. Leave out the ginger if you need to. The turmeric gives the lentils great flavor and a vibrant yellow color.

turmeric-lemon-lentils

Lemon & Turmeric Lentils and Food Bloggers Against Hunger
Recipe Type: entree
Author: Autumn Giles
Prep time:
Cook time:
Total time:
Serves: 3-4
Ingredients
  • Lemon and Turmeric Lentils
  • Yield: serves 3-4
  • 4 cloves garlic, minced
  • 1/2 inch knob ginger, finely minced
  • 3/4 cup red lentils, sorted and rinsed well
  • 2 second pour canola or olive oil
  • 2 t ground turmeric
  • 2 t lemon juice
  • 3 cups water
  • Brown rice, prepared according to package instructions
  • Yogurt (optional), for serving
Instructions
  1. In a medium saucepan over medium heat, saute the garlic and ginger in the oil for a couple minutes, being careful not to burn the garlic.
  2. Add the turmeric and saute for about a minute more.
  3. Add the lentils, water, and lemon juice and increase the heat to high.
  4. Bring the mixture to a boil then decrease heat to medium low.
  5. Simmer uncovered until the mixture thickens and the lentils have completely broken down, about 40 minutes. Stir frequently, especially as the mixture thickens to prevent burning.
  6. Season with salt and pepper to taste and serve over brown rice with a dollop of yogurt, if desired.


{ 8 comments }

Mid-week Link Love

by autumn on March 27, 2013

plant-grates-chs

These gluten-free, vegan oatmeal waffles from The Minimalist Baker might single handedly push me to buy a waffle iron. Amazing!

This sweet potato and brussels sprout skillet from Love & Lemons is so much like what we’ve been eating lately. Our version most often has potatoes, cabbage, and eggs. Perfect late-winter/early-spring eating.

This is completely stunning. (Via forty sixth at grace.)

You know that I love a good use for citrus rinds. Check out this homemade cleaner from What Julia Ate.

Speaking of citrus rind, a gorgeous Seville Orange Marmalade from Lottie and Doof.

Simple Polenta from David Lebovitz.

More fermented carrots! Kate over at Hip Girls Guide to Homemaking read my mind.

I made 3 tea-based cocktails for Serious Eats this week. There’s a tea-infused bourbon (!!!).

{ 2 comments }

Carrot Daikon Kimchi

by autumn on March 23, 2013

carrot-daikon-kimchi-4

This week, for the first time in a few months, I had my canning pot on the stove. I had a mountain of carrots from my winter CSA that needed some attention, so I made a batch of vinegar pickles. When it comes to carrots, we’ve had an embarrassment of riches this winter and I’ve been trying to work through them every which way I can. A couple of disclosures are necessary here. First, I don’t exactly love carrots. Second, there are still plenty of carrots left in my crisper so I welcome your favorite carrot recipes in the comments. (If you’ve been keeping up with the podcast, this isn’t the first you’ve heard of my carrots.)

carrot-daikon-kimchi-2

My carrot situation got me thinking about how my approach to preserving has changed since I first started. My initial excitement pushed me to try as many new recipes and flavor combinations as possible, whereas now I’ve settled into a more practical approach. Rather than daring flavors, I’m drawn to simple, tried and true recipes for those times when there’s a little extra of something. Preserving has quietly taken its place in my culinary habits, which I realize has meant I’m writing about it here less. (Consider this a very public mental note to try and change that a bit in the upcoming season.) Most of the time, I find myself turning to my reliable recipes by other folks, recipes that I’m happy to make without any real changes.

carrot-daikon-kimchi

carrot-daikon-kimchi-3-sqThis carrot daikon kimchi from Doris and Jilly Cook is one of those recipes. I find myself coming back to it every year around this time. If you’ve yet to try fermenting vegetables, this is an ideal starter project. I cruised around the greenmarket yesterday and all the ingredients, except the ginger of course, are available now. I typically double the batch when I make it and leave out the scallions and pepper, but take a look at the original recipe and do what suits you. We use this as a condiment to accompany eggs and hash browns, grain dishes, and—most joyfully—on nachos. My mini-batch of fermented watermelon radishes that you see above was darn pretty, but I’m still perfecting it. I just started an “in-between season preserving” pinterest board to help me collect not-quite-spring inspiration. What kitchen projects are carrying you through to warmer weather?

{ 11 comments }

Mid-week Link Love

by autumn on March 13, 2013

greenmarker-blossoms

I was SO HAPPY to see this tutorial from Choosing Raw on how to make green juice in a blender. This is an idea that has been knocking around my juicer-less brain for a while now, but I imagined that it would result in a big, green mess. Not so! (This is the tutorial that I told Kelly about on the podcast yesterday.)

Blood Orange Liqueur from Yossy at Apt 2B Baking Co. Enough said!

This post from Sassy Radish (!!!).

I love that Megan from Stetted made a home coffee bar part of her kitchen remodel.

A different take on granola from Naturally Ella.

The art in film ends from Art and Lemons. (So stunning!)

This auto-immune disease meme.

These coconutty bars from What Julia Ate seem like a less processed version of scotcheroos.

Finally, a couple of things I was happy to be a part of:

There’s a boozy buttermilk shake in my latest for Serious Eats plus two other drinks that feature Creme Yvette.

I was humbled to be mentioned in this great piece on food bloggers and feminism over at Ms. Magazine.

{ 2 comments }

Vegan Meyer Lemon Cheesecake

by autumn on March 8, 2013

meyer-lemon-vegan-cheesecake

There’s this line from my college thesis, the little collection of poems that helped me stumble out into the world with my first degree in creative writing, that I consider one of the few salvageable things in it. I’m horrible this way, doubling back and dismissing things I’ve written when they lose their luster. I know I’m not the first or only one to do this, but—geez—it’s no good. As soon as something isn’t shiny and new in my mind, my impulse is to burn it to the ground and make something shinier and newer. I’m getting better. Kelly and I talked about this on the podcast this week and I mentioned that I really feel like I’m getting more patient with my creative self as I approach 30. (God, I am SO PSYCHED to be 30, but that’s for another time.) So far, this has been my favorite part about getting older.

The line from my college poem is something like, (I cannot give you the exact line because I’ve successfully eliminated any paper trail and three hard drive crashes later, there isn’t electronic evidence. And, well, I feel absurd quoting myself, but here we go…) “we throw bread in the air and hope for birds.” I remember liking this line at the time, feeling that bit of tense energy that comes when you’ve written something that connects with something else somewhere and it is good. Now, I look at those words and admire just how emo they are. It’s real early-twenties vulnerability that I bet I wouldn’t be able to write now.

meyer-lemons-2

Here’s the best part: for the past year or so, I’ve been ears deep in giving myself to new creative things and if that isn’t just like throwing bread in the air and hoping for birds then I don’t know what is. This is why I’m shutting down this OMG I’M ALMOST 30 nonsense because rather than writing a cute metaphor for taking risks I’m getting better at actually doing it. I’m quite sure it took me longer than it takes most folks to muster the confidence to do this, but here I am.

I have a vegan cheesecake to share with you. It’s not at all related to getting shit done unless a non-dairy cheesecake represents a risk for you, in which case I suggest you buck up and put some cashews in a blender. I know that for some of you, no amount of adjectives will convince you that this treat is just as creamy, tangy, and rich as its dairy counterpart, but it is all of those things. I also like this recipe because, save for the meyer lemons, these are ingredients that I tend to have on hand.

meyer-lemon-vegan-cheesecake-2


adapted from My New Roots

Vegan Meyer Lemon Cheesecake
Author: Autumn Giles
Prep time:
Total time:
Serves: 4-6
Ingredients
  • 6 medjool dates, halved and at room temperature
  • 1/2 cup raw pecans
  • 1/8 t salt
  • 1 1/2 cups raw cashews, soaked overnight
  • juice of 2 meyer lemons
  • zest of 2 meyer lemons
  • 1 vanilla bean, split and scraped
  • 1/3 cup liquid coconut oil
  • 1/3 cup agave
Instructions
  1. Rub coconut oil on a 6-inch springform pan and set aside.
  2. In a food processor or mini-chopper combine the dates, pecans, and salt. Blend until uniform and the pecans look like a very coarse meal.
  3. Press the pecan/date mixture into the springform pan using your fingers to achieve a relatively even thickness. Set aside.
  4. Strain the cashews of their soaking liquid and rinse them well. Place them in a blender with the remaining ingredients.
  5. Blend on high until the mixture is very smooth. This took me about two minutes of blending and I had to stop and scrape the sides a few times.
  6. Pour the filling mixture onto the crust and smooth the surface. Cover with foil and place in the freezer until solid.
  7. When ready to serve remove from the freezer 30 minutes prior to serving and immediately remove the outer ring of the springform pan. Garnish with candied meyer lemons (see notes below) if desired.
  8. Any leftovers can be stored in the fridge.


Notes:

  • If you prefer not to use agave or don’t need this to be vegan, replace the agave with honey or another liquid sweetener of your choice.
  • To pretty it up, I followed these instructions from Martha Stewart to candy a single meyer lemon for a garnish.
  • Before I had my 6-inch springform pan, which is now one of my most beloved, I made a version of this in a saran-wrap lined round pyrex and it worked ok. I left enough extra saran-wrap that I was able to use it to pull out the cake
  • This can be done in a normal (ie: $20) blender. No Vitamix here 🙁
  • I ordered my meyer lemons here.

{ 23 comments }