by autumn on March 4, 2013

The folks over at Blisstree recently asked me to develop a brunch recipe for their cooking series called “Brunch-off” using a seasonal ingredient of their choice. Well, when I found out my ingredient would be kale, you can guess how psyched I was. I used this fantastic gluten-free seeded bread recipe, which is a new favorite of mine, to make a rustic, winter kale salad panzanella. Head on over to Blisstree for my Kale Salad Panzanella recipe.
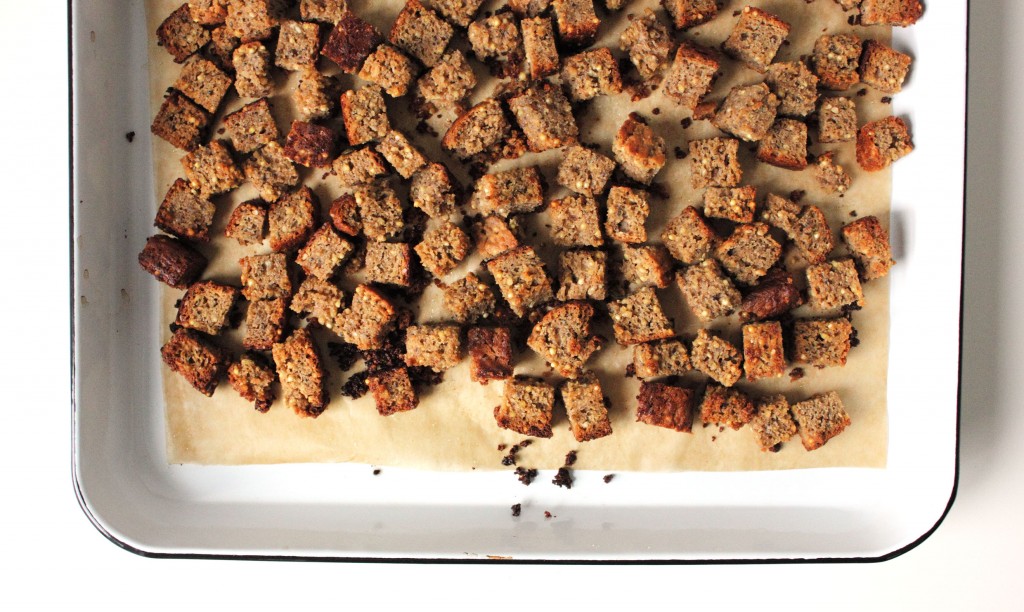
This was my second attempt at gluten-free panzanella, so I feel like I’m working toward a good strategy for successfully making this bread-heavy dish gluten free. My first tip for gluten-free panzanella is to really toast the bread. It lends some extra crunch to the salad and helps the bread hold together. The second thing I learned is that a successful gluten-free panzanella will require less liquid/dressing than regular panzanella for the same reason: the bread will hold together better. Finally, I really loved how this turned out with a whole grain, seeded bread compared to the more traditional white bread.
I also wanted to share a couple other recent projects I’ve been working on that I suspect you might enjoy.
by autumn on February 25, 2013
by autumn on February 19, 2013
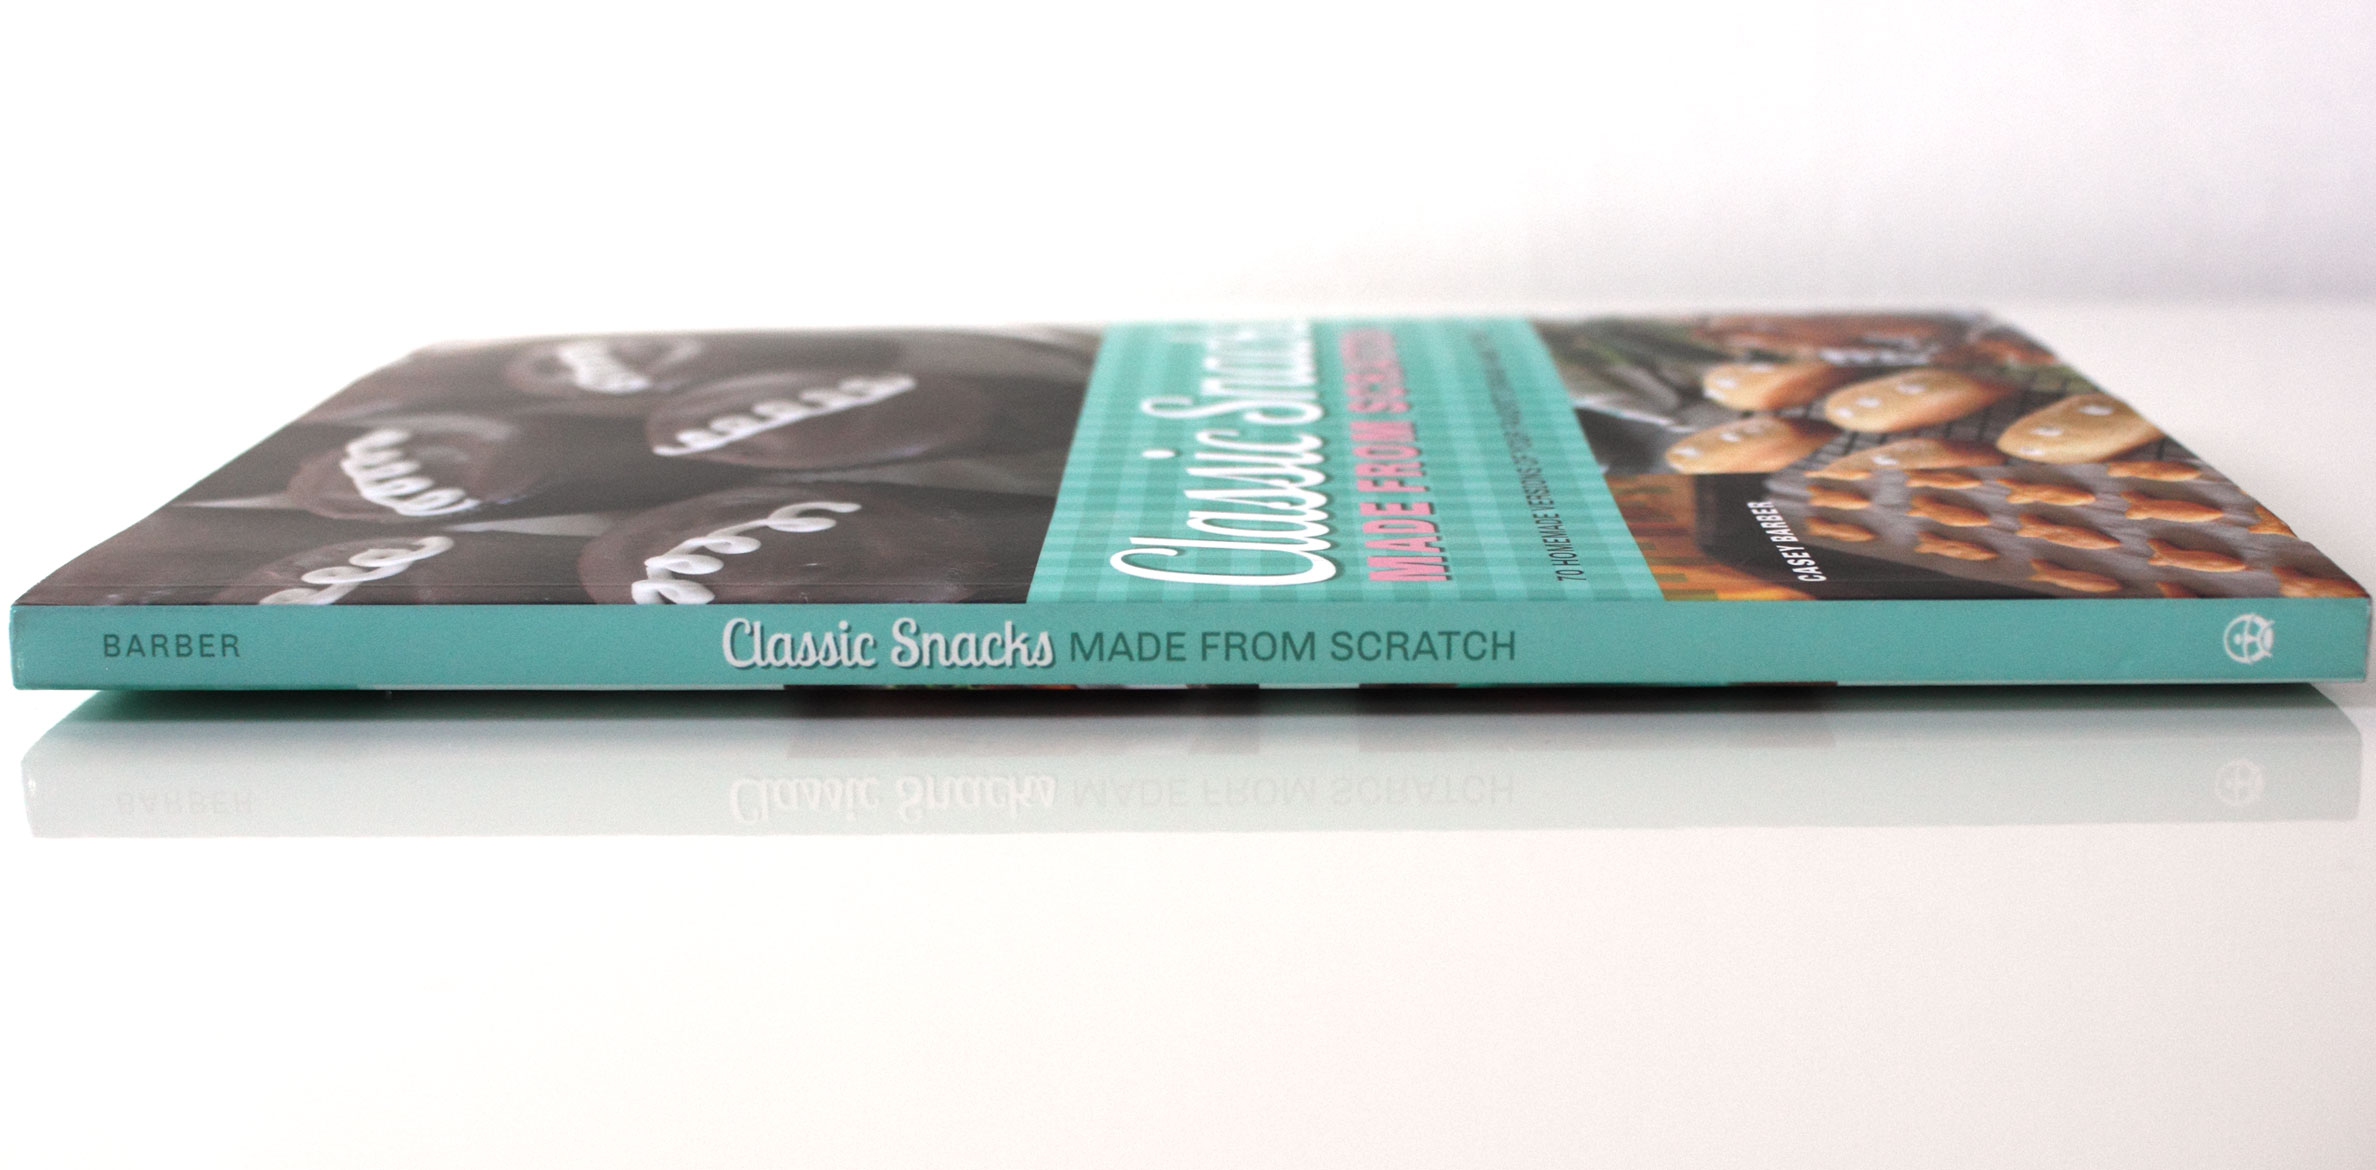
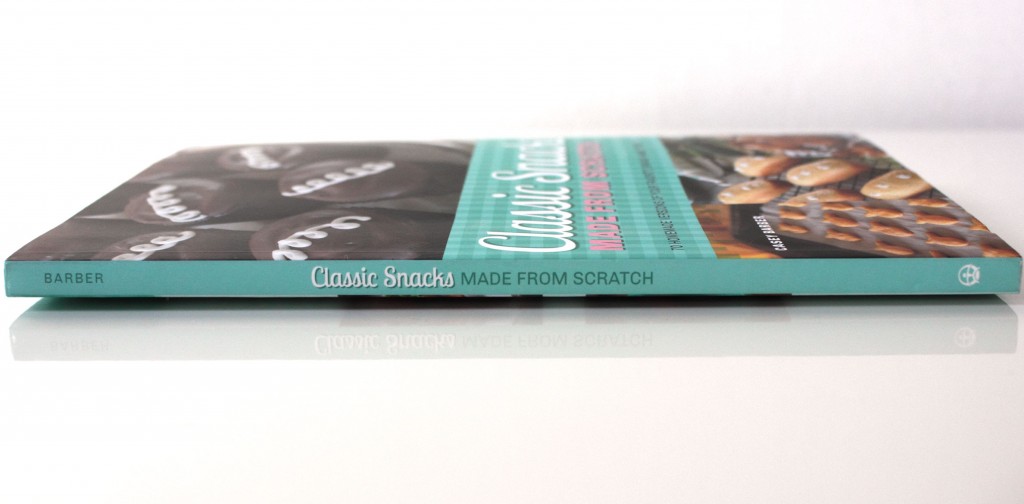
The first time I met Casey Barber I was so psyched to interview her for the podcast and when we bonded over peeling the marshmallow coconut skin off of Sno-balls, I knew she was exactly the person you’d want on your side for DIY snacks. At that point, her book, Classic Snacks Made From Scratch: 70 Homemade Versions of Your Favorite Brand-name Treats, was in its earliest stages and I have been anticipating it ever since.
Classic Snacks Made From Scratch is full-color, has that lay-flat binding that I wish was required of every cookbook, and is packed with gorgeous photos. The one thing that really stuck out to me is how simple the recipes are, in the best way. I certainly never imagined that it was possible to make Corn Nuts at home, let alone with only four ingredients, but Casey makes it happen.
I have seriously fond memories of globby tapioca pudding on fast-food salad bars (remember when Wendy’s had a salad bar?!), but am slighty embarrassed to admit that I had never thought about making it myself. The recipe in Classic Snacks Made From Scratch made me realize that tapioca is basically the easiest pudding to make ever. I successfully cooked some up while multi-tasking (not my strong point) and it totally took me back.
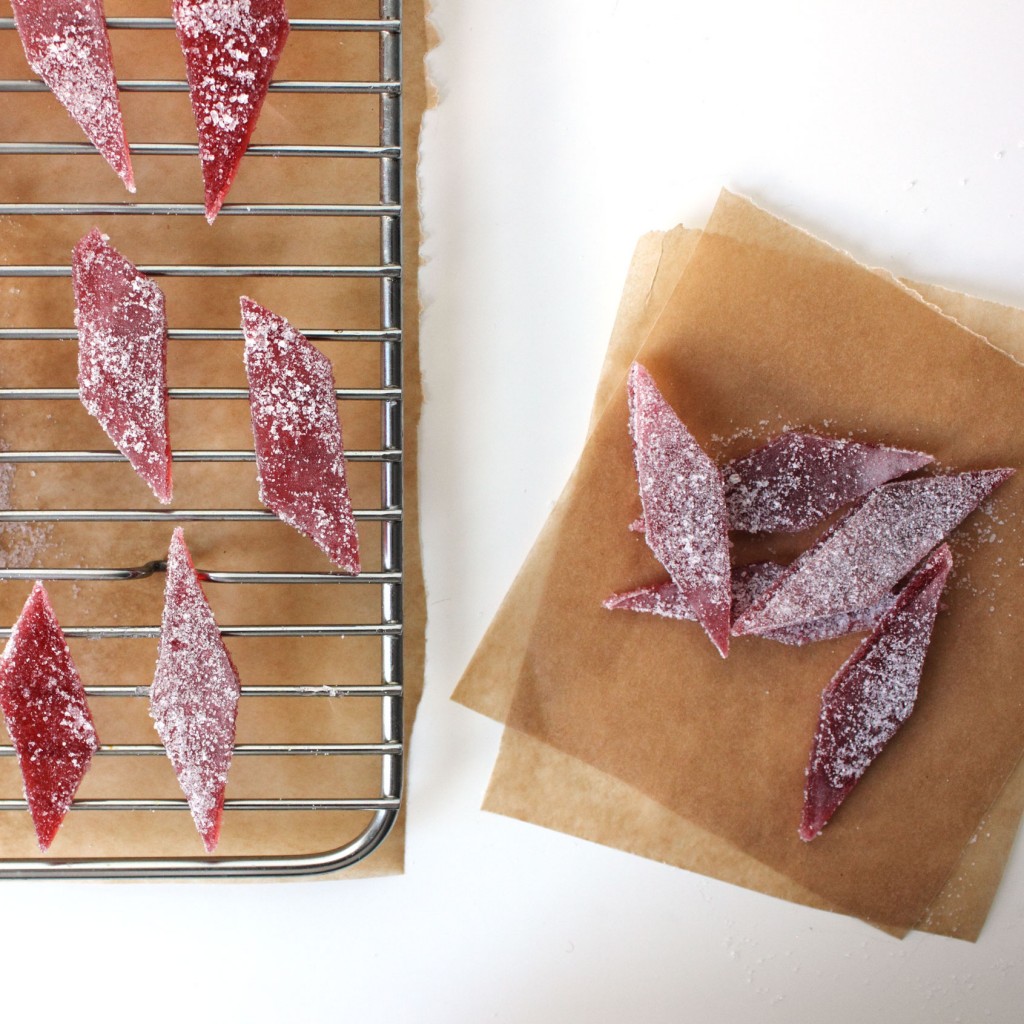
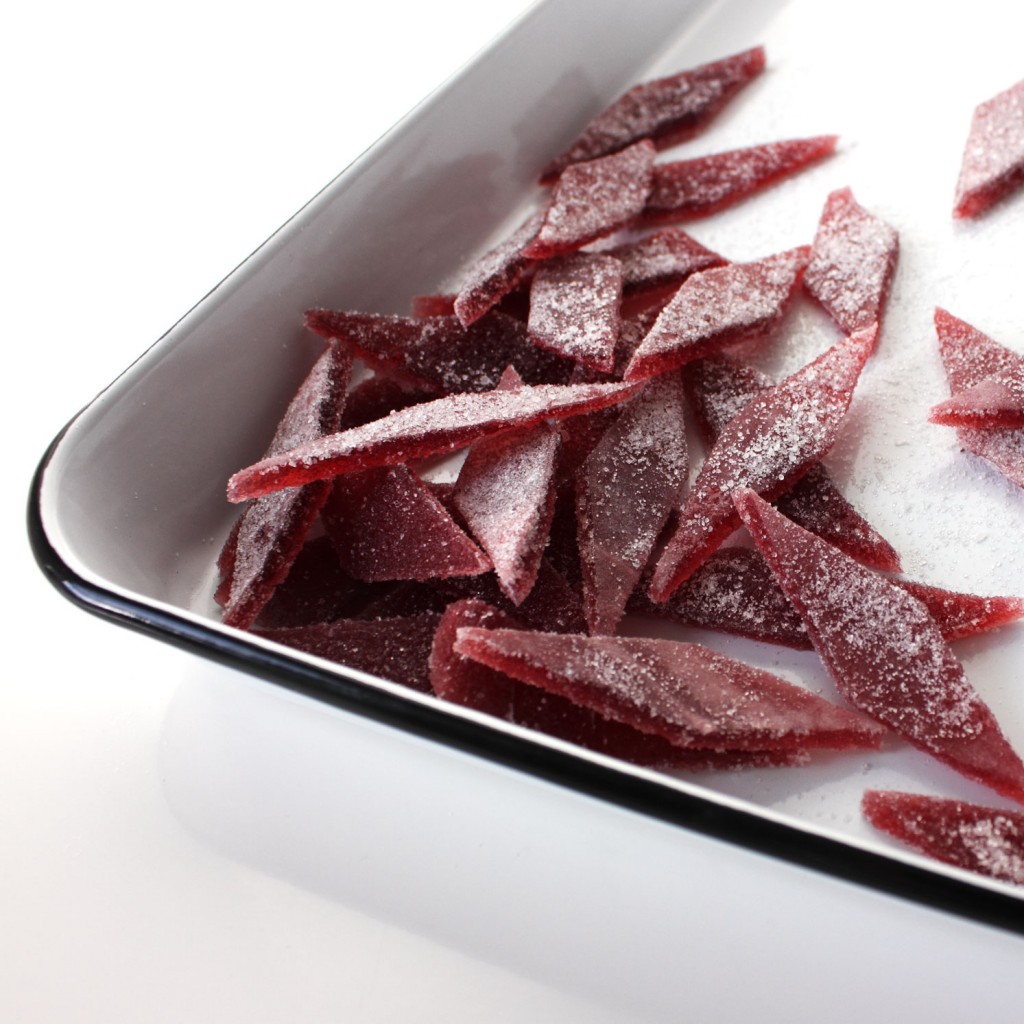
I had a minor freak-out when I realized there was a recipe for homemade Sour Patch Kids in the book. I’m just the sort of weirdo that has citric acid and copious amount of powdered gelatin stashed in my pantry, so these also came together so easily. (If you’re not my sort of weirdo, there’s a really helpful resources section at the back of the book to help you find stuff like citric acid.) The instructions and recipe headnotes in Classic Snacks Made From Scratch include phrases like, “The sugar will form a big, scary, hard clump when it hits the gelatin, but don’t worry,†which is exactly how I want to be talked to when dealing with anything that’s 300 degrees. In other words, the book is totally approachable.
To celebrate the launch of Classic Snacks Made From Scratch, I have one copy to give away. Leave a comment on this post to be entered to win by 5pm ET on Friday, February 22nd (US and Canadian entries only and one entry per person, please). I will choose a winner at random.
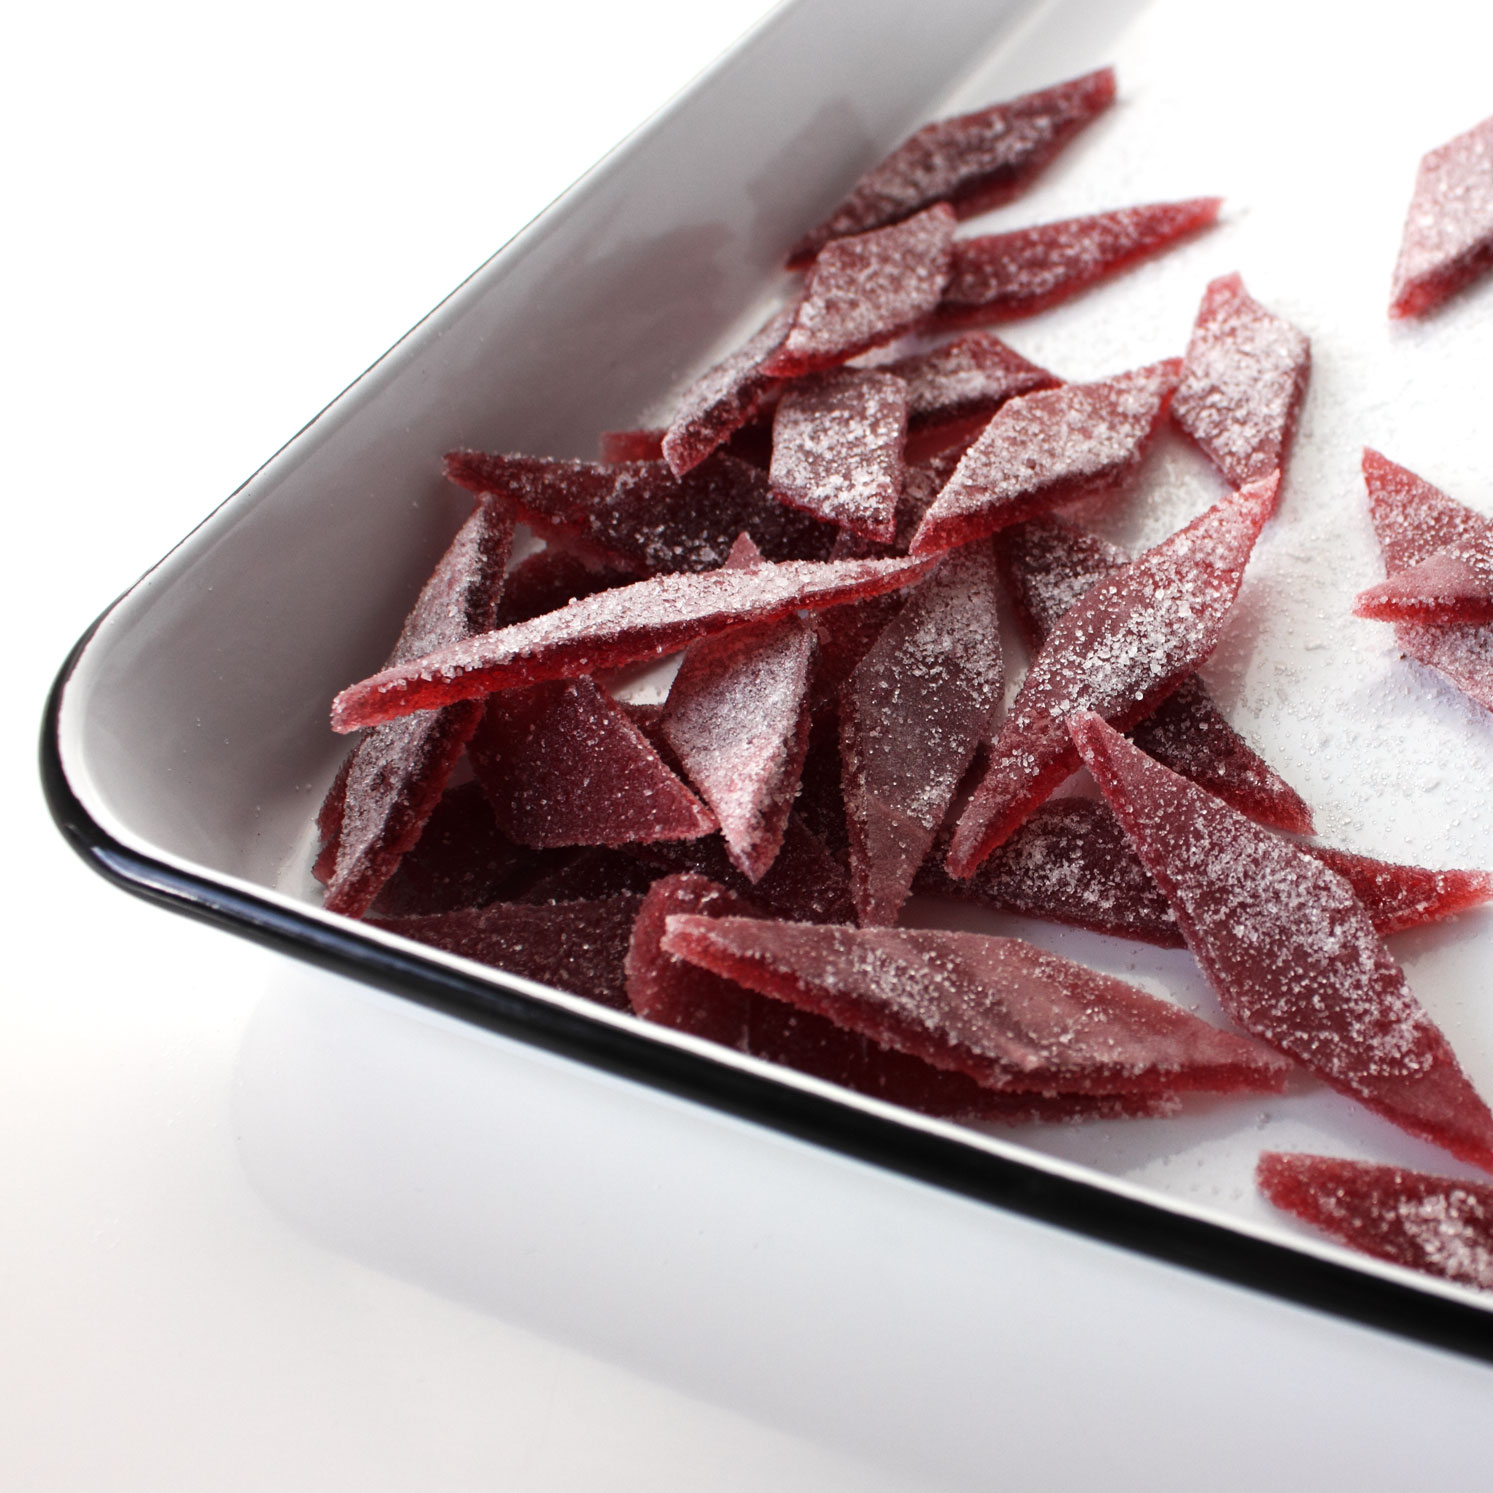
Sour Patch Kids
Ingredients
- For the Jellies
- 1/3 cup freshly squeezed lime, lemon, or orange juice or bottled cherry juice
- 1/2 t citric acid
- 1/2 cup water, divided
- 4 (1/4 ounce) envelopes powdered unflavored gelatin
- 1/2 cup (3 1/2 ounces) granulated sugar
- Coating
- 1 T powdered sugar, plus more for dusting
- 1 T cornstarch
- 1 T granulated sugar
- 1/2 t citric acid
Cooking Directions
- MAKE THE JELLIES: Whisk the fruit juice and citric acid with 1/4 cup water in a 2-quart straight-sided saucepan until the granules are fully dissolved. Sprinkle the gelatin as evenly as possible over the surface; it will absorb the liquid on it own without whisking or stirring.
- Whisk the sugar with the remaining 1/4 cup water in a separate straight-sided saucepan. Bring to a boil over medium heat, uncovered, stirring until the sugar fully dissolves. When the liquid starts to bubble, stop stirring and attach a candy thermometer to the side of the pan. Cook undisturbed until the sugar reaches 300 degrees on the thermometer. You'll notice the liquid thicken to a more syrupy texture as the boiling slows and the bubbles become less "furious"--but a thermometer is the most surefire way to know when you've reaches the right temperature without undercooking or overshooting.
- Carefully pour the hot sugar into the gelatin and place the saucepan over medium-low heat. The sugar will form a big, scary, hard clump when it hits the gelatin, but don't worry: gently and continuously stir over medium-low heat for about 5 minutes, and it will soften and dissolve until there are no more clear lumpy bits. If the liquid starts to boil, lower the heat.
- Pour the mixture into an 8-inch square glass baking dish and let sit at room temperature for 2 hours.
- COAT THE CANDIES: Whisk the powdered sugar and cornstarch together in a small bowl, and whisk the granulated sugar and citric acid together in another small bowl. Set aside.
- Set a wire cooling rack in a rimmed baking sheet, making sure the rack fits comfortably inside the "walls" of the sheet.
- Lightly dust a cutting board with powdered sugar, spreading it with your hand to make an even dusting. Carefully lift a corner of the set gelatin block and peel the candy out of the pan and onto the cutting board. Flip over once so that both sides have a fine coating of sugar. Slice into a dozen 1/2 inch strips and cut each strip into 5 candies, each about 1 1/4 inches long.
- If the candies are starting to "weep" and get goopy and sticky first dredge them in the cornstarch-powdered sugar mixture, a few at a time, tapping on the side of the bowl to remove excess powder. Then toss them in the sugar-citric acid mixture. If the candies are dry to the touch, simply coat them in the citric acid mixture.
- Let the coated candies dry for 8 hours on the cooling rack until the coating is hard and crunchy.
- Store the candies at room temperature in an airtight container for up to a week.
Notes:
by autumn on February 11, 2013
Cocktails that I really swoon over tend to fall into two camps: herbal/floral and brown. This one, as you see, falls in the former. I’m a fan of floral tastes in general—I have exactly one kitchen cabinet’s worth of “pantry” space and still have bottles of both orange blossom and rose water. Priorities.
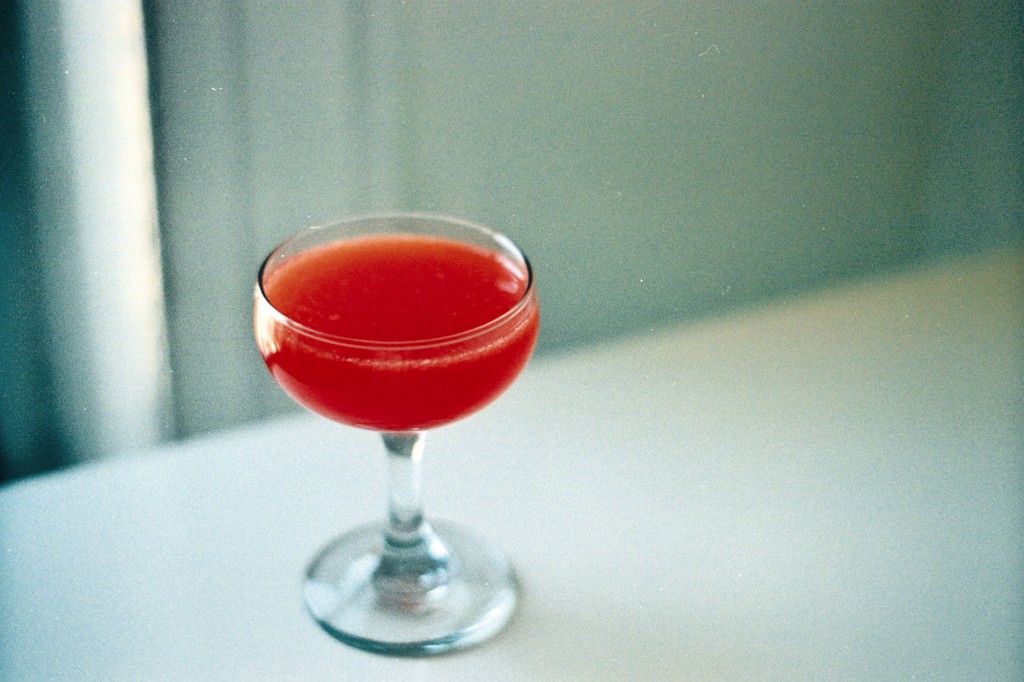
The floral notes in this cocktails come from Creme Yvette, a once-forgotten liqueur with notes of violet, berries, vanilla, orange peel, and honey. A 750 ml bottle will run you just under $50 and for me that definitely falls into splurge territory. However, since it’s not the starring spirit in a drink, it should last you just short of forever. And if you’re a person who is inclined not to ignore that holiday later this week, a bottle of this terribly lovely liqueur and couple of these ruby hued cocktails would be a fine way to celebrate.
This drink is essentially a Blue Moon, but I had some blood orange juice leftover from my Serious Eats piece, so I plugged that in here. The result is a pretty, not-too-sour gin cocktail with all sorts of nice berry and floral flavors.
Blue Moon Cocktail Variation
Ingredients
- 2 oz Hendrick's Gin
- 1/2 oz Creme Yvette
- 1 oz Blood Orange Juice
- Ice
Cooking Directions
- Combine all ingredients in a cocktail shaker.
- Strain into a coupe glass and serve.
by autumn on February 7, 2013

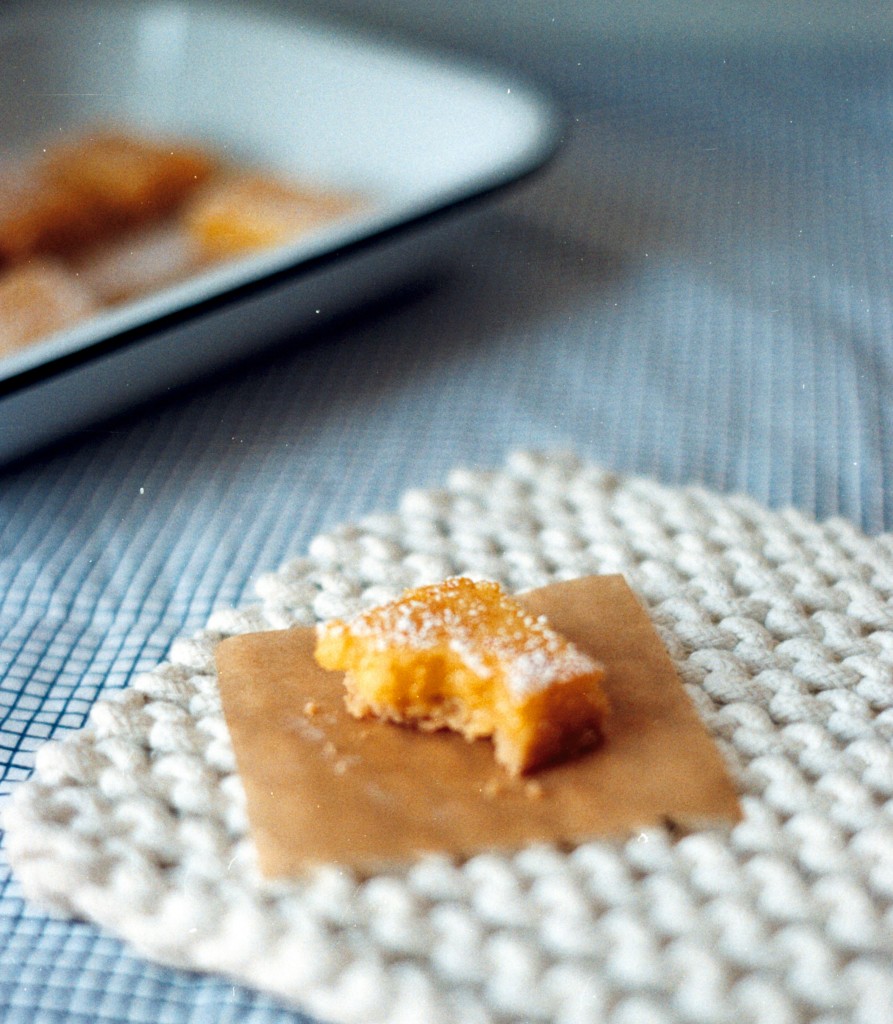
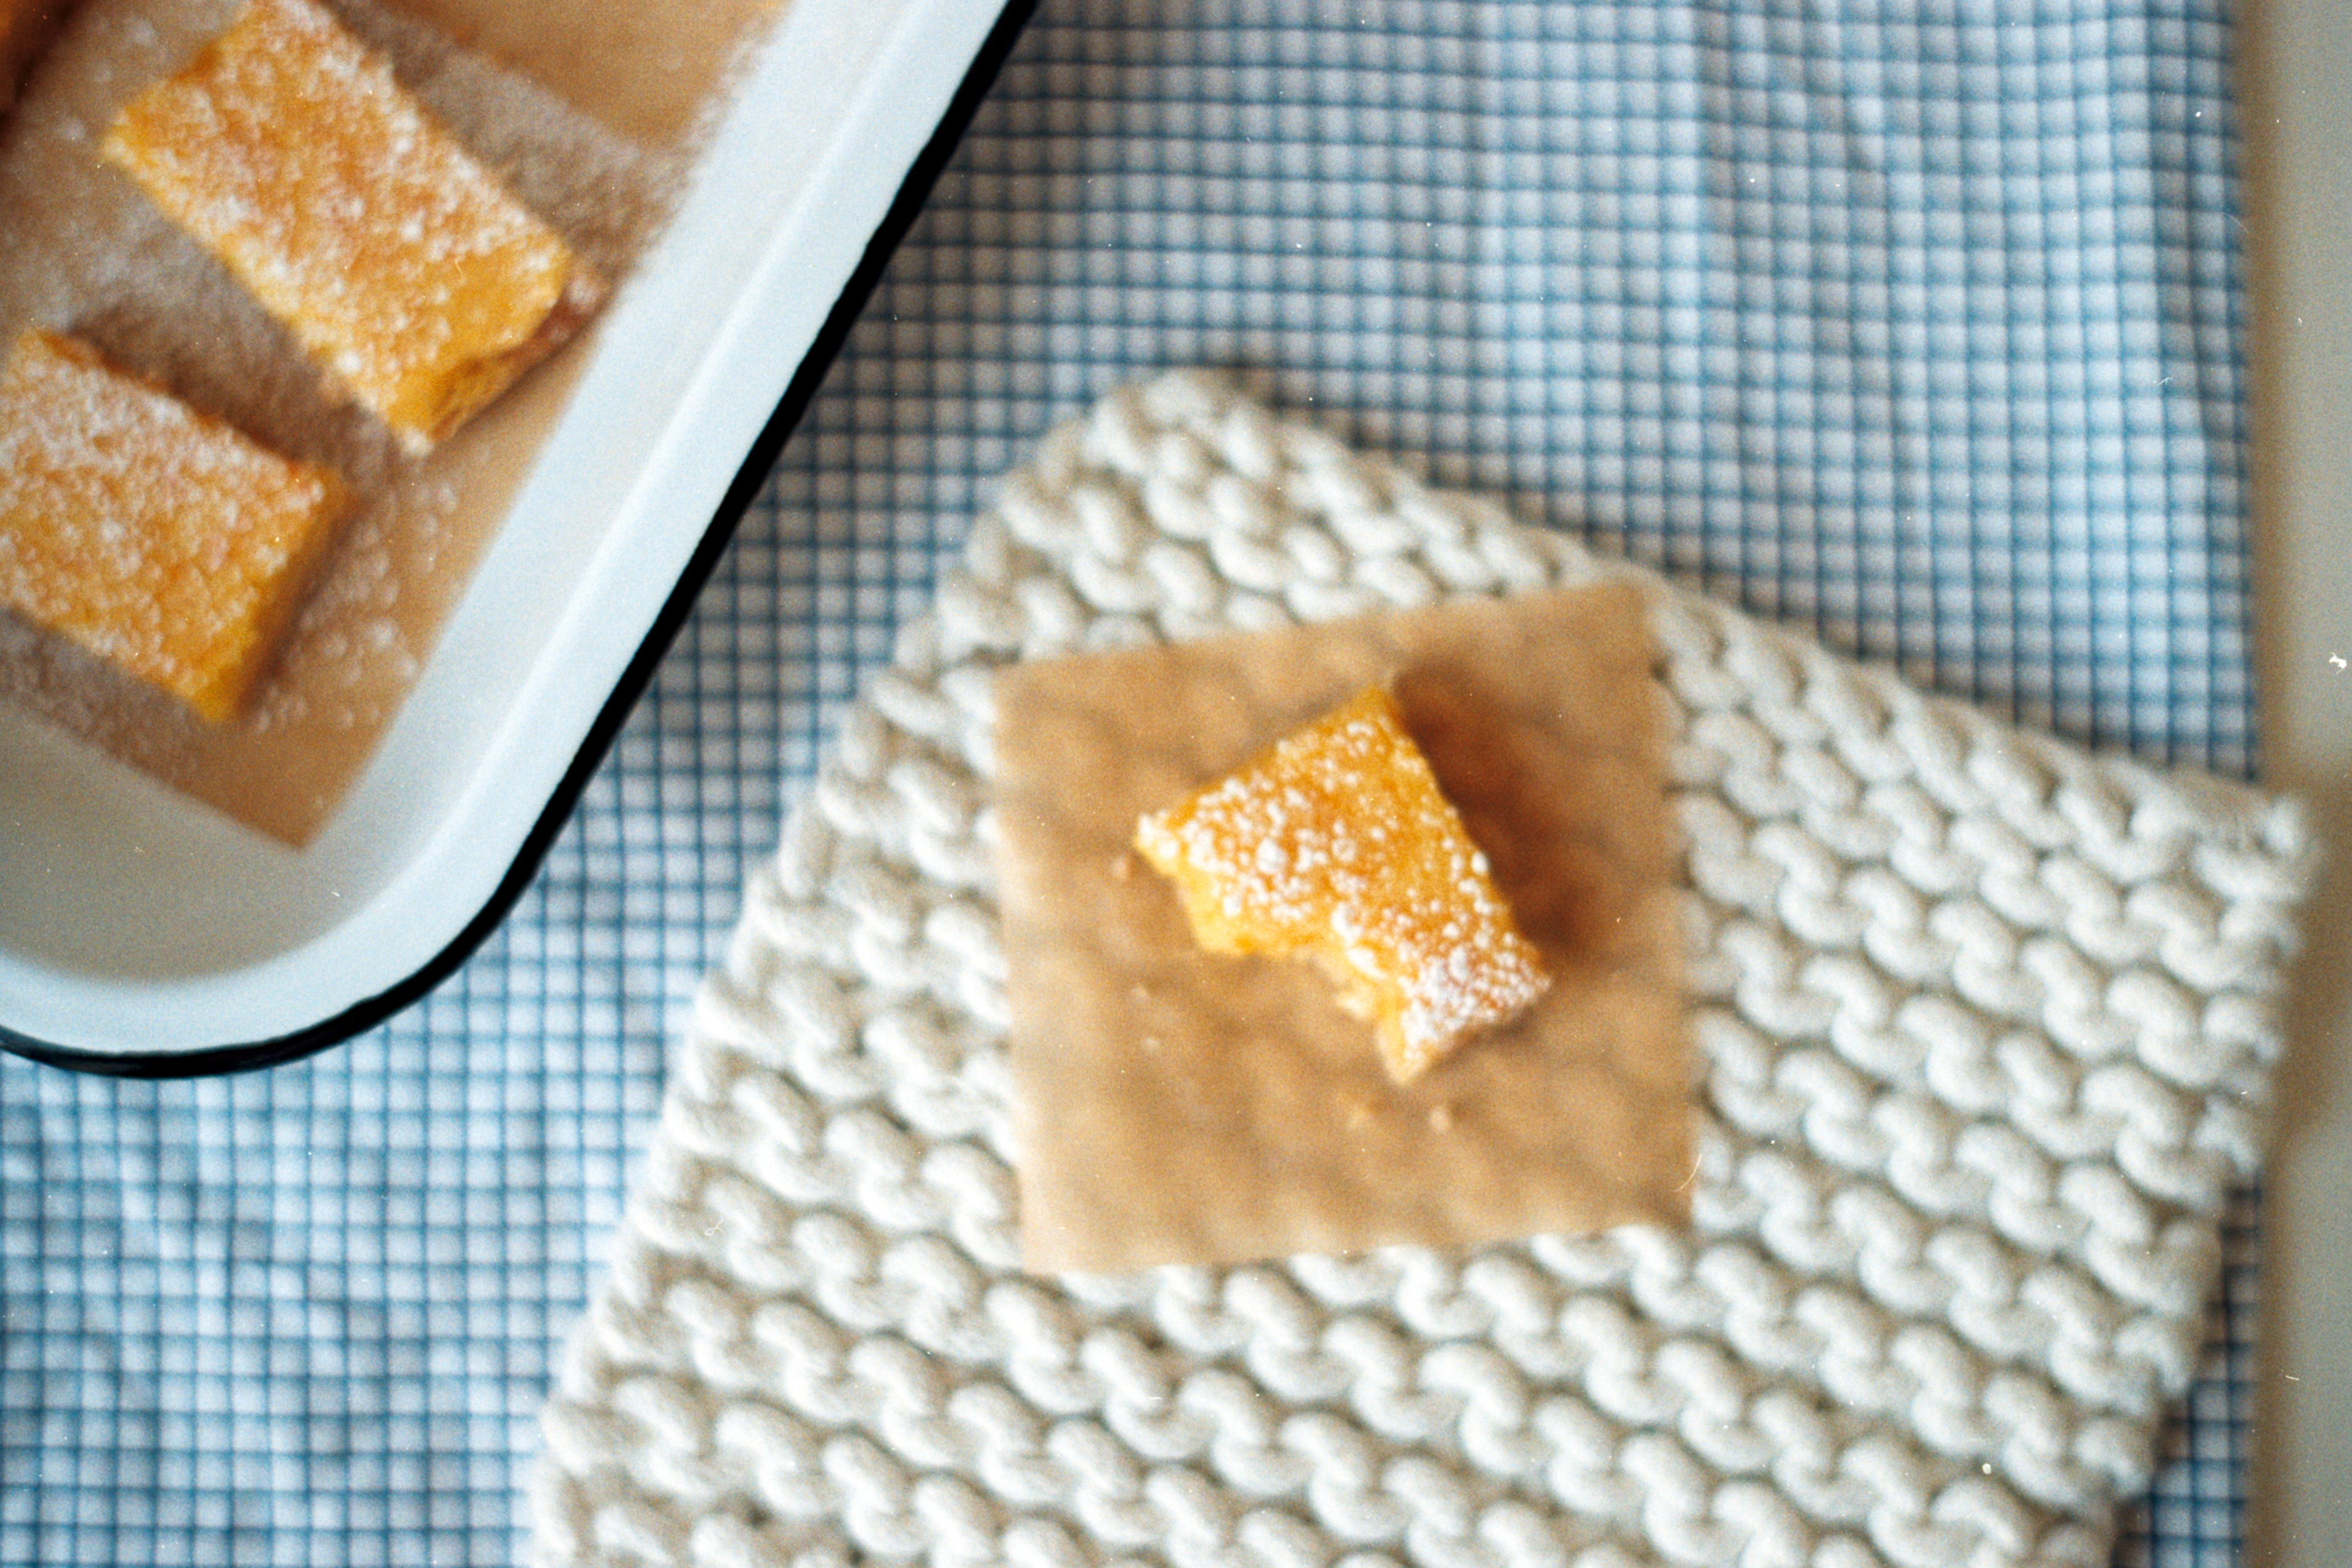
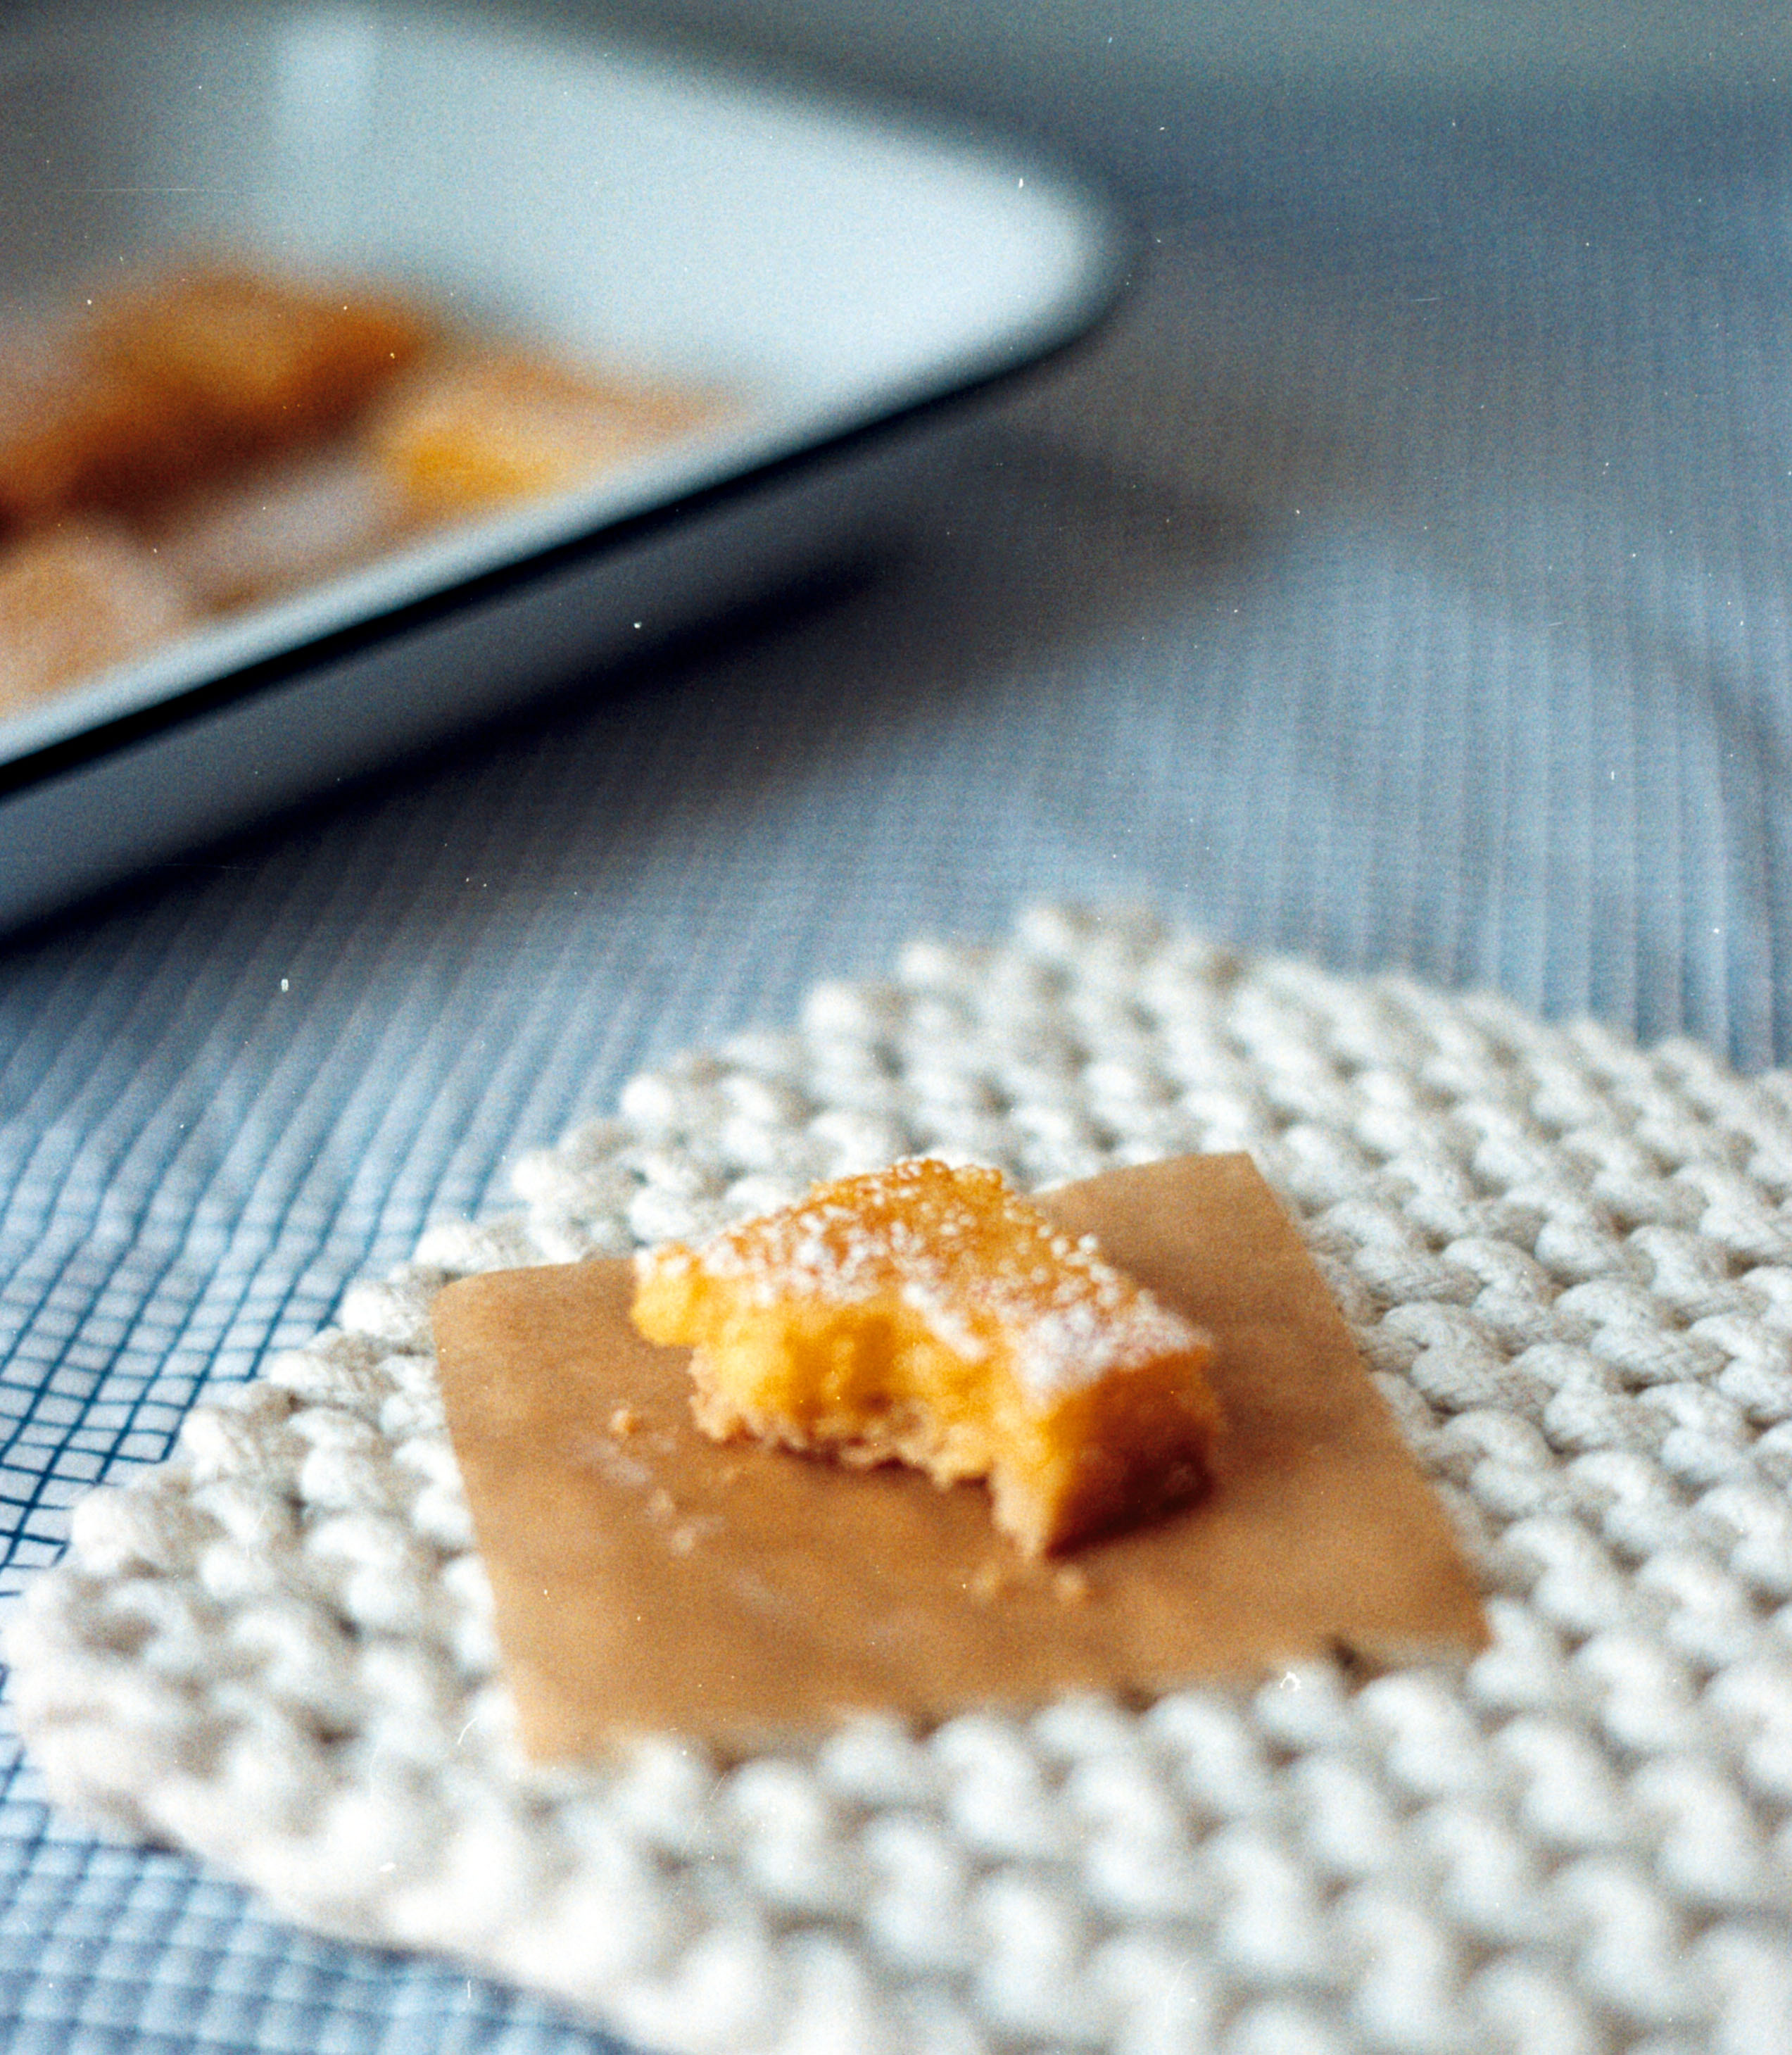
This Is Just To Say
I did not share
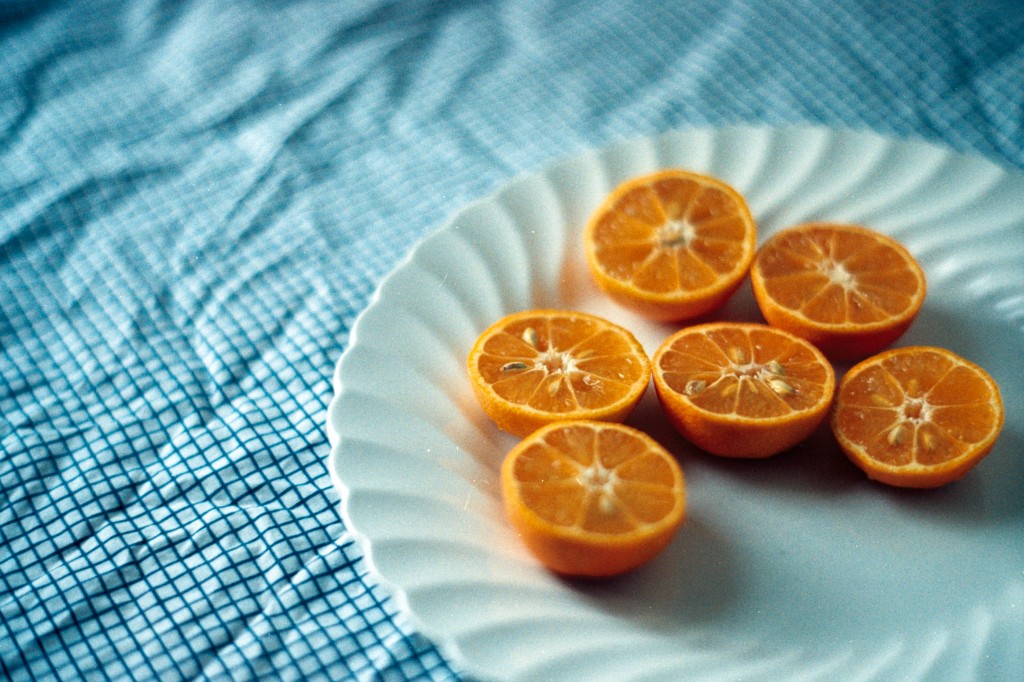
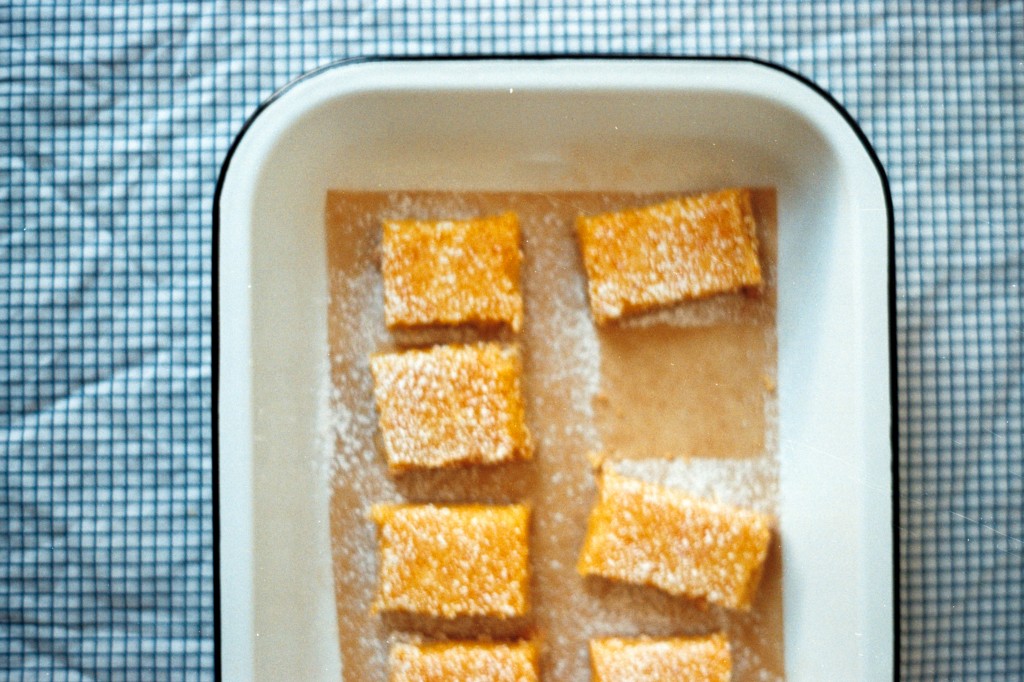
my rangpur lime bars
with you
It’s just that
I’ve been so busy
and it’s easier to grow
citrus in Queens
than it is to get
film developed at CVS
(The idea for rangpur lime bars is Yossy’s and the recipe that I used is David Lebovitz’s. Gluten-free folks, I used 100g superfine brown rice flour, 20g tapioca flour, 20 g gluten-free oat flour, and 1/4 t xanthan gum for the 1 cup of AP flour that the crust calls for.)
by autumn on January 28, 2013

When I started a podcast, I knew right away that I loved it. I was enamored by the parallels between recording a conversation and taking a photograph—the feeling of creating an artifact out of the everyday. Almost immediately, I also began to see ways that I could make the podcast better, but I knew I’d have to step back to make it happen—to give myself the time and space to re-imagine and find a willing partner in crime. Well, let me tell you, I’m a big ol’ Virgo and “stepping back” does not come easily.
But I did and I’m so happy with how it turned out. I’m really excited to finally share the new Alphabet Soup featuring Kelly Bakes! The podcast still combines the two things I love most—food and writing—but, now I get to talk about the stuff I like with my friend Kelly. Every. Single. Week. She’s funny and drinks bourbon. I think you’re going to like her.
Our new episode will be live tomorrow, so head on over to Alphabet Soup and subscribe on itunes.
by autumn on January 6, 2013
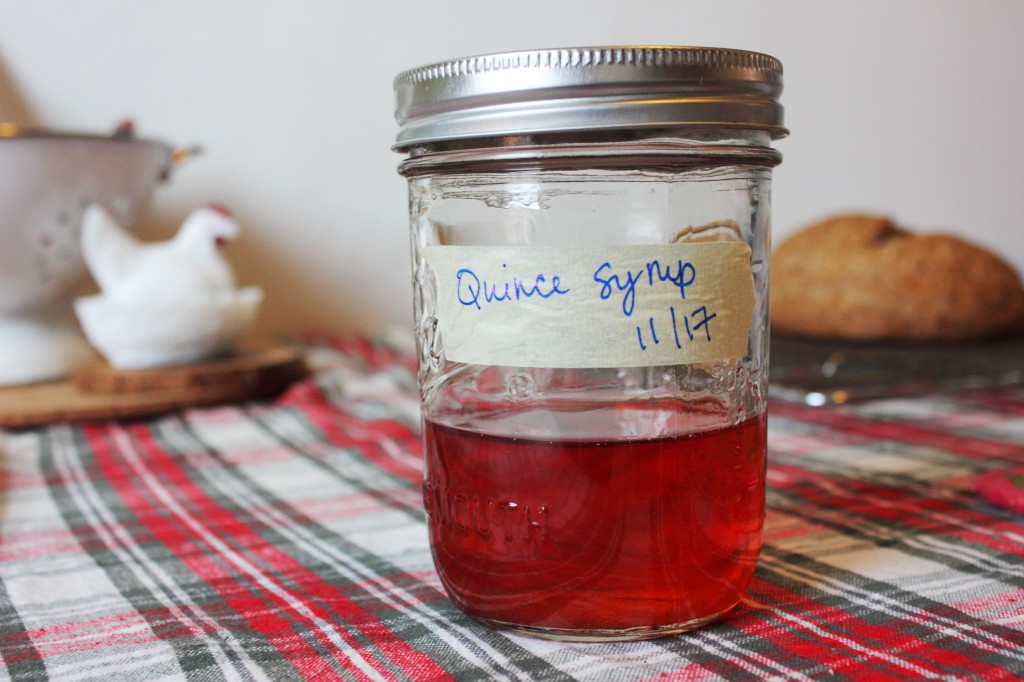
In the name of tackling big, bad problems with small changes, I’m here to tell you to make masking tape a staple in your kitchen. Even the most conservative estimates about how much food we waste in a year are staggering. As much I try to make my kitchen a low-waste operation, I know the biggest trigger for me to waste food is when I don’t remember how long something has been in the fridge. All too often, this leads my food-borne-illness-paranoid brain to throw something away “just to be safe.”
After meaning to do it forever, I took a cue from my short stint in a professional kitchen, and stashed a sharpie and a roll of masking tape in the drawer with my kitchen utensils. I now try to be in in habit of labeling everything from homemade syrups to refrigerator pickles to egg whites. Basically, anything that hasn’t been slapped with an expiration date. It not only makes me more confident that foods are still good, it gives me a greater, at-a-glance sense of what needs to be used up and when. The tape peels off easily and in my experience it doesn’t leave any residue.
How do you cut waste and stay organized in the kitchen?
More masking tape in the kitchen ideas:
by autumn on December 19, 2012
The past few days we’ve woken to fog here, spacious and damp, and my morning walk to the subway has had an unwieldy gravitas. A lady doesn’t like to have to walk proudly into the unknown just to get to work. Bridges lead nowhere and Queens is an island.
Instead, I am thinking myself warm. I am picturing myself in the sun with hair that I don’t have because in the summer aren’t we always better off with different hair? I’m not thinking about my own summer, I’m thinking instead of my better summer: a Steve Nicks skirt and expertly shucked oysters.
This year, my own summer gave me many kale salads. Many “folding chair in front of a window fan†meals. If a kale salad is anything, it’s loyal. Unlike the tomato, it will see you into winter. The deep hues of the cooler months are right at home here: forest, russet, and the watermelon radish’s natural ombré. Who said winter had to be grey? It may seem counterintuitive, but I think a kale salad that can stand against the cold is a perfect addition to your winter holiday table.
Kale Salad with Fennel, Radicchio, and Asian Pear
- 1 bunch lacinato kale, washed, dried and de-ribbed
- 1 clove garlic, very finely chopped
- 3 T olive oil
- 1 T lemon juice
- 4 leaves radicchio
- 1 asian pear
- 1 small bulb fennel
- salt and pepper to taste
1. Cut the kale in 1/4 inch thin strips and place in a large bowl with the garlic.
2. In a jar with a tight-fitting lid, combine the olive oil and lemon juice and shake until emulsified. This is your dressing!
3. Pour the dressing on the kale and garlic mixture and use your hands to “massage” the dressing into the kale, distributing it evenly. Set is aside to marinate quickly while you chop the remaining ingredients.
4. Cut the radicchio into short strips also about 1/4 inch thick. Add it to the kale mixture without stirring.
5. Core, halve, then quarter the asian pear and cut it into very thin slices that are still crunchy, about 1/8 inch thick. Add it to the kale mixture without stirring.
6. Remove the fronds from the fennel and slice the bulb in half. Cut a triangle shape in each half to remove as much of the tougher core as possible. Slice the fennel about 1/8 inch thick and add it to the bowl.
7. Toss everything together to combine and season with salt and pepper to taste.
Notes:
- This serves about 4 as a side. If you’re less people than 4, this is quite good leftover.
- We’ve been getting watermelon radishes in our CSA, so I substitute that for the fennel when I have it. It’s also great.
by autumn on December 5, 2012

Falling in love with the idea of D.I.Y is easy. It’s not hard to get behind making cheaper, healthier, and better-tasting food for yourself and your loved ones. The harder part of adopting a D.I.Y ethic is navigating the matrix of time, cost, and convenience in order to decide what to make and what to buy. With Make the Bread, Buy the Butter, Jennifer Reese provides a guide to figuring out your D.I.Y loyalties. (The book got all sorts of great press in 2011 when it came out and the super-affordable paperback version was released this fall.)

This book is a rare bird. Like Ruhlman’s Ratio, it’s a solid reference book with writing that’s smart and funny. I found Reese’s re-telling of her family’s decision to keep chickens to be honest and quite moving. She’s very candid about the fact the endeavor was not ultimately cost-effective, but nevertheless argues that “However expensive—and keeping chickens can be expensive—I do believe that it is one of the most ecologically and morally important changes you can make in your eating habits.â€
These little moments of exception are what I really liked about this book. It is most certainly a valuable and accurate resource on the cost-effectiveness of making your food from scratch, from hot sauce to duck prosciutto. However, it not only allows for, but encourages you to seek out the exceptions: the stuff you do yourself simply because you couldn’t imagine not doing it.
Strangely enough, the little recipe that I was most excited about was a simple chocolate sauce. I have a block of unsweetened chocolate in my pantry that I’ve been trying to use up for way too long and I was excited to find a basic chocolate sauce recipe that would help me make a dent in it. I had planned to post this review at the beginning of November to celebrate the paperback release, but after a hurricane-induced internet detox, I’m just sharing it now. Now is as good a time as any really because this would make a great, affordable gift for the aspiring or experienced D.I.Yer in your life.Â
(Disclaimer: I received a review copy of this book, but my opinions remain my own.)

Homemade Chocolate Sauce
Ingredients
- 2 oz unsweetened chocolate, chopped
- 1/3 cup brewed coffee
- 3/4 cup sugar (I used evaporated cane juice)
- 4 T coconut oil (liquid)
Cooking Directions
- Combine the chocolate and coffee in a small saucepan over low heat. Stir constantly until combined.
- Add the sugar and heat until bubbling, stirring frequently to prevent sticking.
- Remove from heat and stir in coconut oil until fully combined.
- Allow to cool slightly and serve immediately or store in fridge and re-heat as needed.
by autumn on November 1, 2012

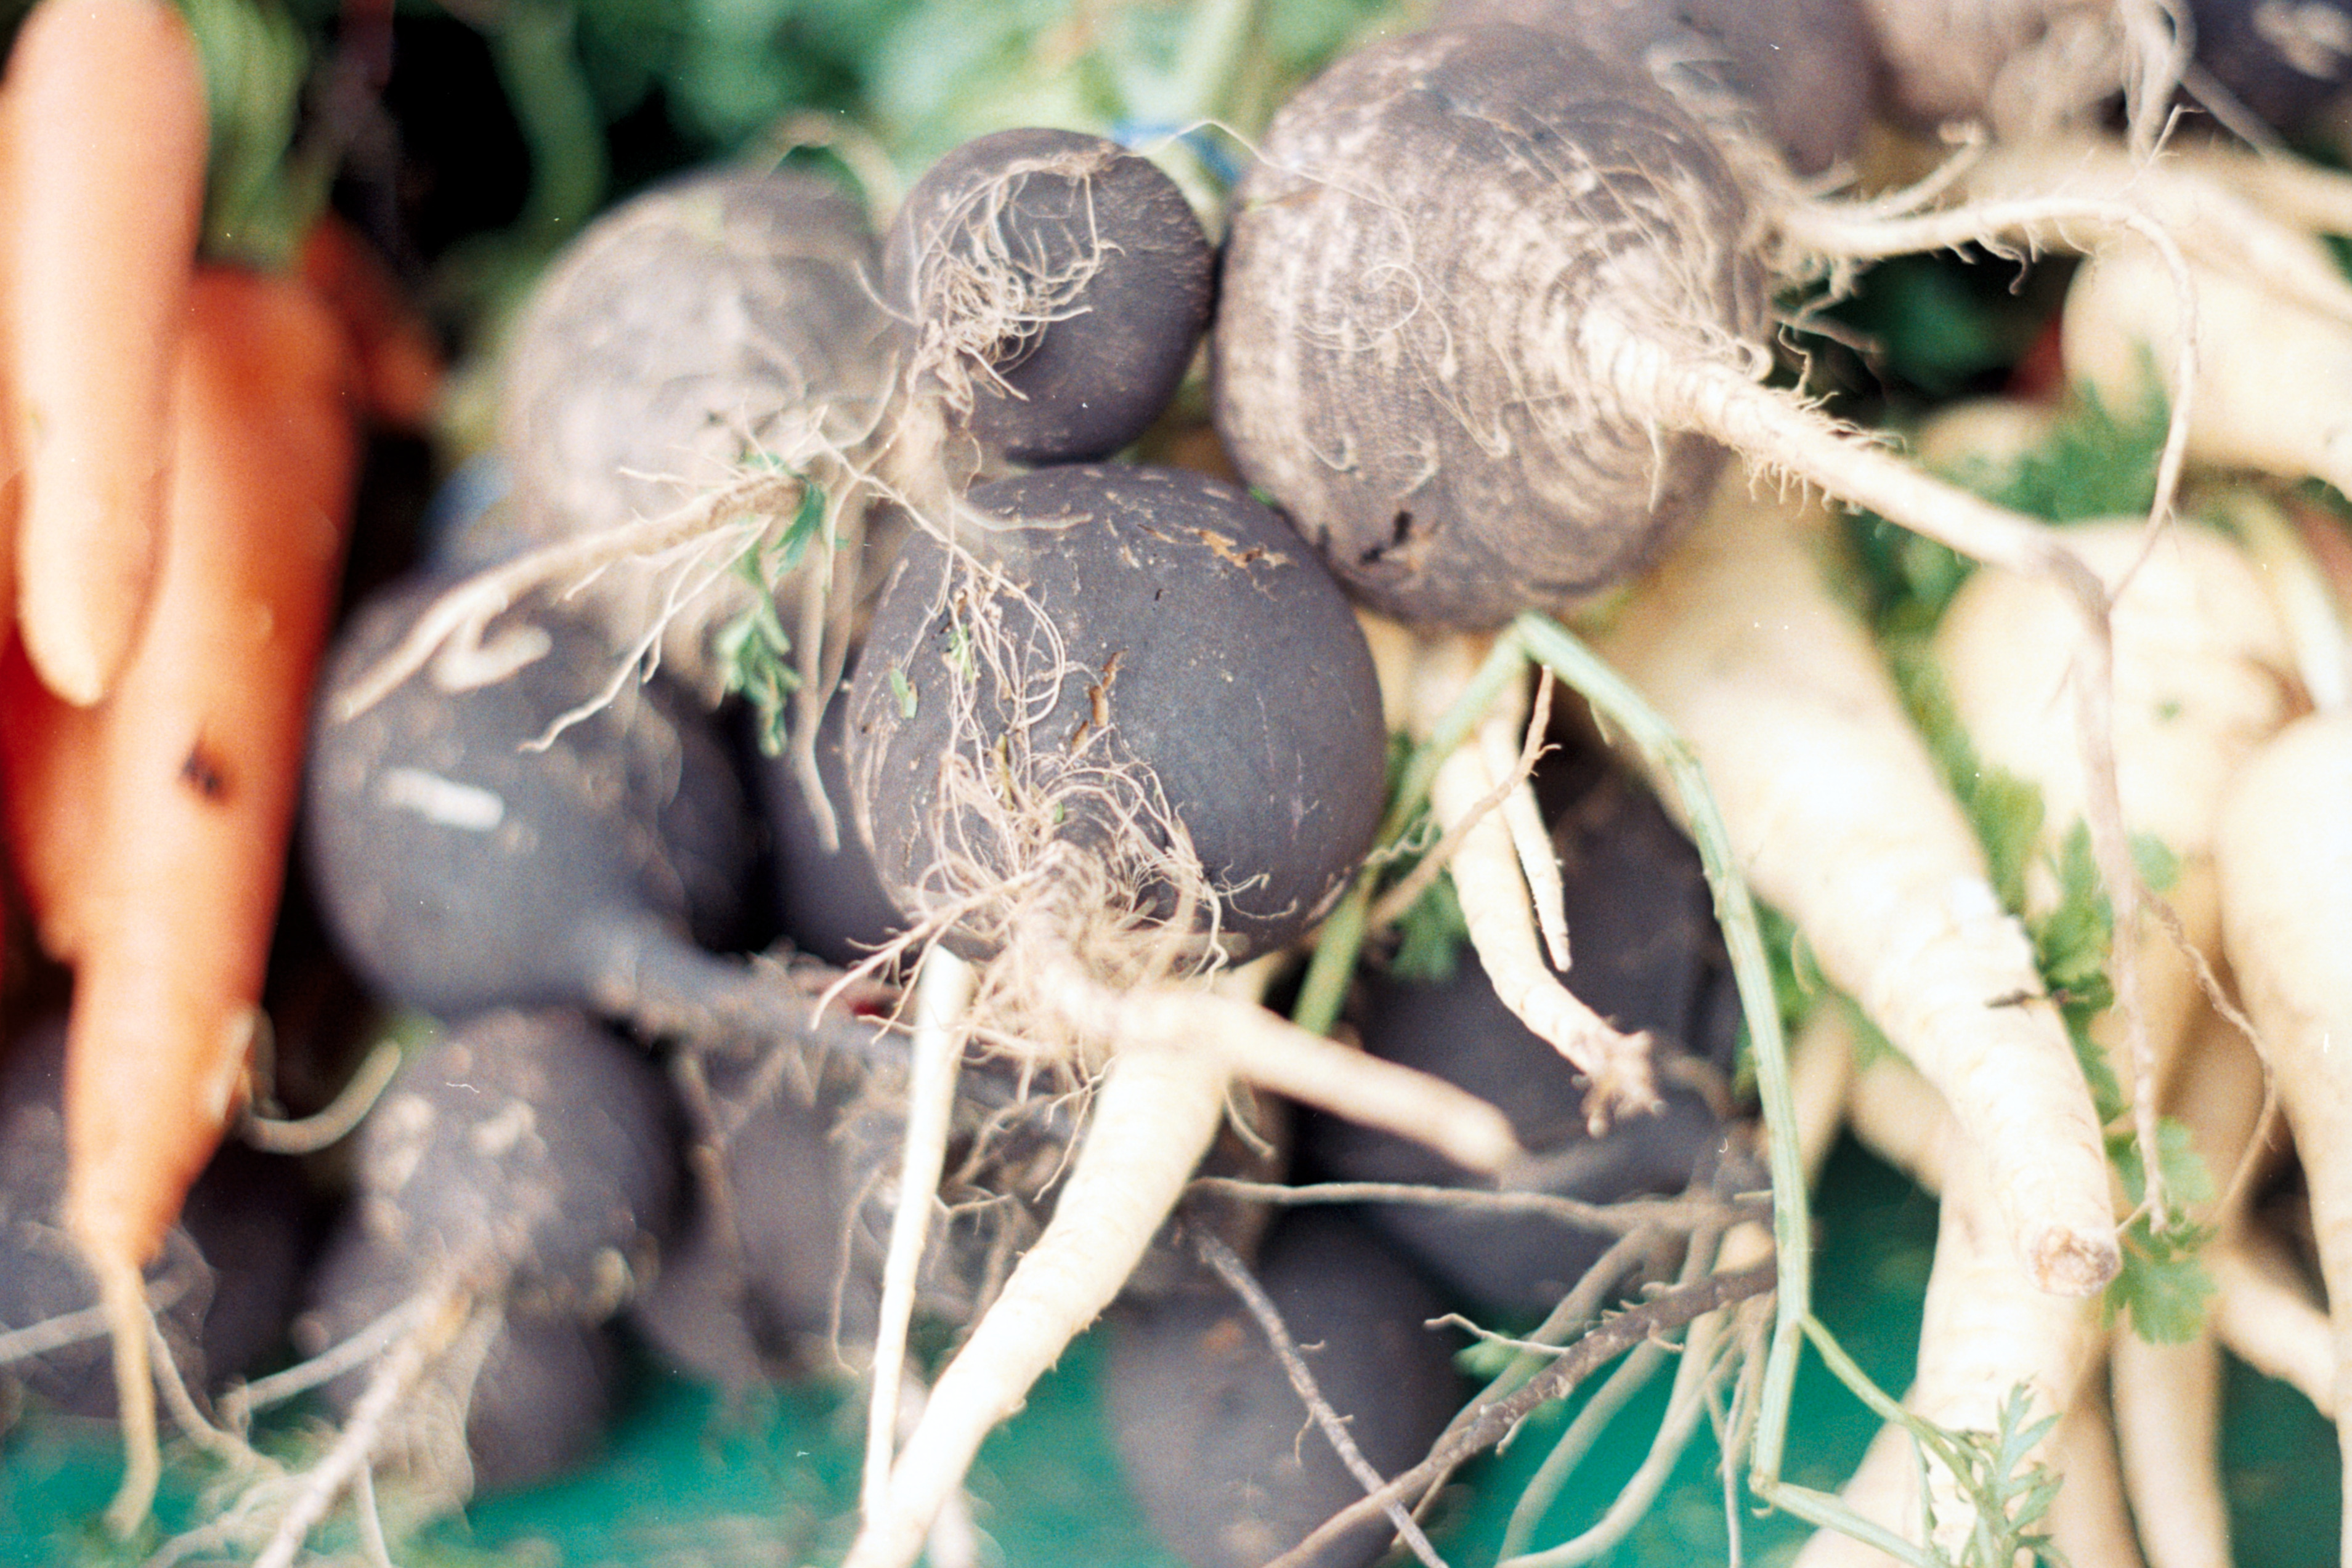
As I’m sure you’ve heard by now, the east coast has had it rough lately. I don’t have much to say about it yet because I’m still feeling pretty sad, but incredibly lucky. I gave in ways that felt meaningful to me and I’d urge you to give or reach out in ways that make sense for you.
Now seems like as good of a time as any to share some photos I took at the Union Square Greenmarket a couple weeks ago. The market has been closed this week and while I wait for it to return, I’m counting the ways I’m grateful for it and the folks who keep it going.